Buttercream - Top Ten Tips to the Perfect Buttercream
Wedding cake covered in buttercream wit fresh flowers and a few dabs of edible paint.
Buttercream, the thing that makes every cupcake special, every wedding cake worth slicing and every unicorn cake perfect and magical.
It’s an easy thing to make once you’ve made it a few times, but it can go wrong in so many ways, that’s why I’ve put together top ten tips to the perfect buttercream.
I’ve made a few tons of buttercream in my time, the more I made, the more I became to rely on my muscle memory to get it right, but not at the beginning.
Making the perfect, creamy, smooth, not too sweet or sickly buttercream wasn’t a success the first few times, and if it’s the same for you, give it another try, it’s worth it.
1) It’s only a guide
The biggest mistake made when trying to get the perfect buttercream, is to follow the recipe to the letter.
I know, it’s a strange thing to hear especially when most of the baking advice given, tells us that it’s all about the science, and it is, usually, but for buttercream, we have to be a little bit flexible.
Ambient temperature plays a massive part in how buttercream turns out, so being ‘flexible’ with the ingredients is a must.
Adding extras for flavouring and colouring increases moisture meaning extra icing sugar to the mix and if butter is still too cold, it may have a little condensation on the outside, meaning more icing sugar. Get the idea?
2) Only butter and make it salted!
I made celebration cakes in the cake café business I used to own, the most asked question was for advice on how to make buttercream.
One person even asked how to make buttercream with margarine, it was a simple question to answer.
You don’t.
It’s called buttercream for a reason, butter because it tastes great, holds it’s form when it sets, and emulsifies, just enough, to make it into the creamy texture we’ve all come to recognise and love.
Butter is not as cheap as it once was, but if making a cake from scratch, making buttercream for decorating the outside or as a creamy filling to layer the sponge together is still much cheaper than paying a professional to make the cake for you.
Before I say any more, Let’s start with a recipe that works!
Vanilla Buttercream
340g icing sugar
170g Salted Butter-Room temperature.
1 ½ Teaspoons Cream
1 Tbsp Vanilla Extract
Place the butter and vanilla into a stand mixer bowl, set the speed to low and begin to mix until it begins to lighten in colour
Add the icing sugar and cream to the bowl, increase the speed to medium and press the button to mix again.
Keep mixing, scraping the bowl down the bowl a few times as you go.
The longer you mix the smoother the buttercream will get
Let the buttercream sit for 30 minutes, covered, before using.
It may sound a little strange to stipulate salted butter in the recipe, but it does make a difference to how it tastes.
Buttercream can be sickly sweet, using the salted butter takes the edge off the sweetness without having it taste of salt.
No salted butter, add a good pinch of salt instead.
It’s worth it!
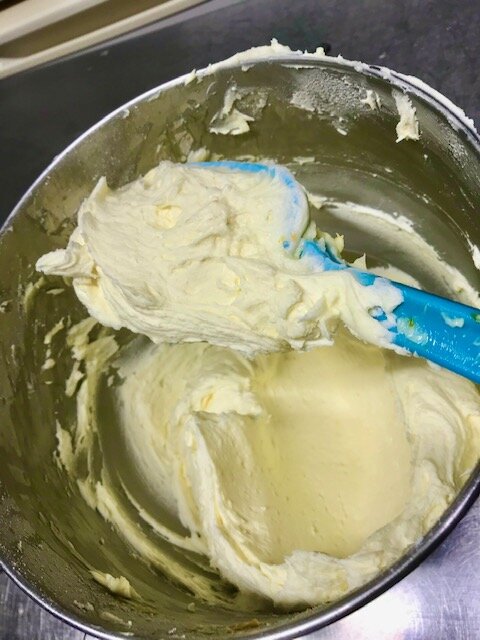
Smooth and creamy
3) Cool but not cold
Baking the cake calls for room temperature butter, the same applies to the buttercream. It’s good to start with butter that’s cool to the touch and very slightly softened, but not soft.
I know, sounds complicated, but once you touch it, you’ll know the difference.
If the butter is too soft when it begins to mix it takes a shorter time to beat, but it won’t hold up very well when it comes to using it.
Soft butter makes the buttercream greasy so it won’t hold up as a medium to be piped or even as a middle for the cake.
Too greasy means too slimy and soggy.
Having it just soft takes a little longer to become creamy but worth for the finish result.
4) Beat it, beat it good.
I’m not the most patient person in the world, so I always have to stop myself from rushing, from making the beating finish too quickly.
Starting with cool room temperature butter gives it a good start.
No matter how strong your arms are, it’s best to use an electric mixer.
I’ve a Kitchen Aid that I swear by, I’ve also an electric hand mixer which works really well for this too, whichever you use, don’t be in a rush.
Start on a slow speed until it becomes light in colour.
Once it’s very pale and light, increase to medium speed and start to add the icing sugar and cream.
Keep beating until it’s all incorporated.
Then, beat some more until it’s fluffy and light in texture.
When it’s ready it should melt in the mouth, feel light on the tongue and super smooth.
5) Cream or Milk?
Cream is my go-to liquid for my perfect buttercream, but if you’ve no cream, use a little milk instead.
Using cream keeps the mix decadent and creamy, using double cream also helps to thicken the buttercream to hold its shape.
Using milk or cream, is where it’s worth keeping an eye on the ratios until you have made buttercream a few times and muscle memory starts to kick in.
After a few times getting your mix on, you’ll know how much, or little, milk you’ll need as opposed to the cream, but its worth holding back 1/3 of the milk just in case it is too thin at first.
Remember, if you’re adding a flavour or colouring to the buttercream, that’s going to add more liquid so even more reason to keep an eye on how much is added and adjust accordingly.
Adding too much liquid means the only way to put it right is to add more icing sugar.
The problem with this, more icing sugar is going to tip it over the edge for sweetness.
6) Any colour you like
Supermarket food colourings are usually in liquid form and not very concentrated meaning that more is needed to get the right colour.
See the problem here?
More liquid food colouring means wetter buttercream mixture which means more icing sugar which leaves a sickly-sweet taste.
I never want to have someone scraping the butter cream off the cake because it’s way too sweet!
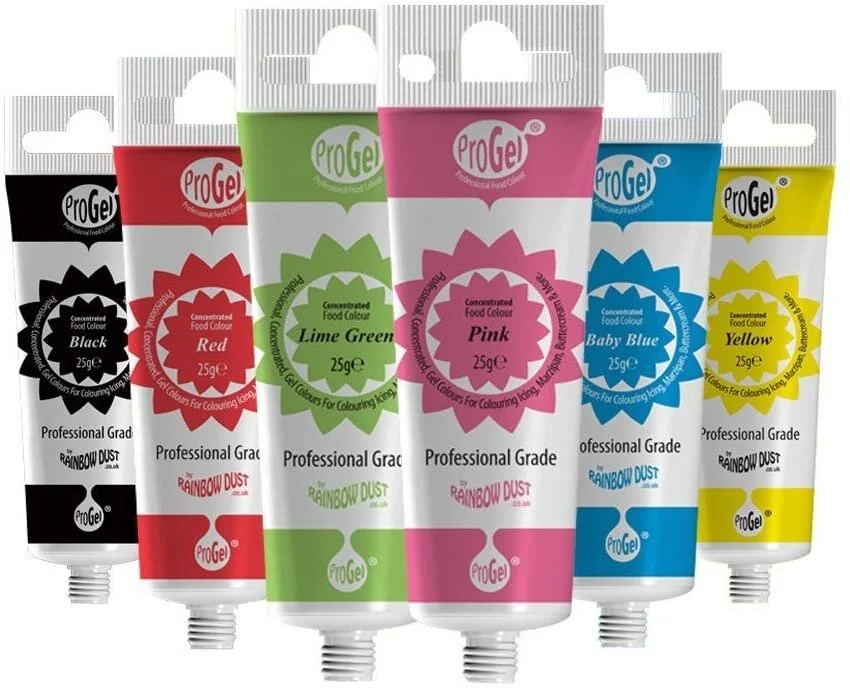
Gel colours are the answer to this problem.
It’s easy enough to find gel colourings online and in cooking shops, they’re only a couple of £s and more intense in pigmentation so less is needed. The tiny tubs or tubes can be used in cake batter and last for months and even more.
Gel colours come in hundreds of shades, from bold primary colours to the perfect pastels popular mermaid and rainbow cupcakes.
I’ve used these a lot
7) No air bubbles please!
I want air to make it light, but i don’t want air bubbles in my buttercream that make it hard to use.
Pockets of air when I’m trying fill or cover cakes or right in the middle of piping on cupcakes or even more intricate piping decorations, can cause hold ups when decorating. Avoiding air pockets starts right at the beginning.
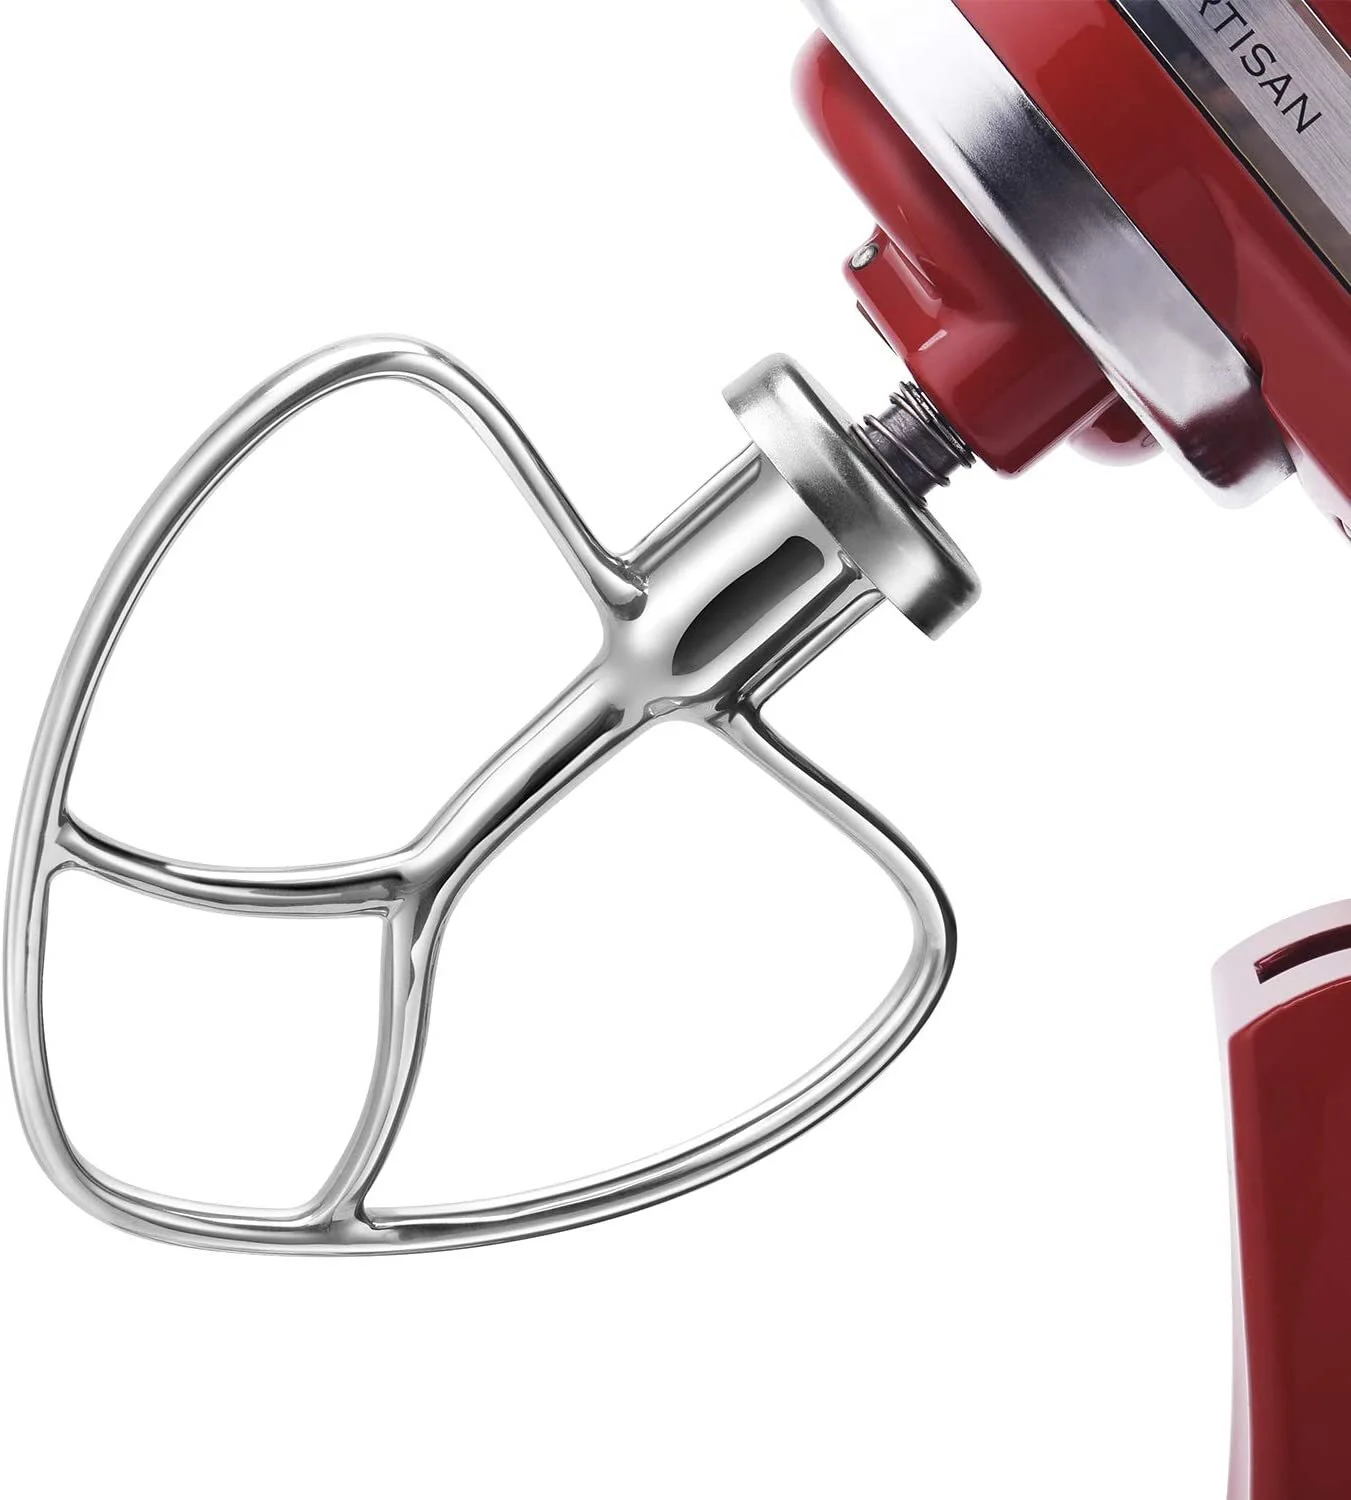
Stay away from the whisk attachment on the electric mixer and go for the paddle attachment.
Using the paddle creams the butter, mushing it against the sides of the bowl and scraping it against the fine grains of the icing sugar. The result is a creamy airy mixture, but no whisked pockets of troublesome air that pop when trying to spread or pipe it.
Trusty paddle attachment
8) Flavour can come lots of different ways
There are easy ways to add flavours without spending too much time, or money, buying runny bottles full of artificial flavourings, once again, a rummage through my pantry usually gives my inventiveness a nudge.
Remember, adding liquid, means the consistency will be different, so adjust the amounts of ingredients accordingly.
Try these for a little bit of inspiration:
Lemon curd
Jams – Blackberry, Raspberry
Marmalade
Jelly crystals
Orange zest
Lime zest
Lemon zest
Buying flavours?
Be careful about which you buy, in my experience, lots of them taste really artificial and can leave a chemical after taste in the mouth.
My rule of thumb when choosing a flavour to add, if I don’t want to eat it myself in something I’ve cooked, why would I want to add it to buttercream?
Lemon curd, perfect for adding flavour
9) Make it ahead of time
If time is a bit precious, or you’re a good planner, it’s ok to make the buttercream ahead of time and store it in an air tight container in the fridge for up to one week, or in the freezer for up to 3 months.
When i need it, i defrost it and let it come to room temperature before beating it again until light and fluffy.
Knowing that the buttercream recipe is good to store or freeze, means that I get to indulge my no food waste philosophy.
No matter how little of the buttercream I’ve left over after icing a cake, I double bag it and pop it in the freezer (making sure to write the date in the container).
Once I’ve enough, I can save time and money when I whip up a batch of cakes by mixing all the leftovers together.
10) The rest
If you’re making deep colours, especially blacks and the purple shades, the tip here for making sure that the buttercream reaches the right shade is to leave it sitting, covered for a two to three hours before using.
Just give it another beat, to bring it together a little before using it.If making buttercream to cover a whole cake, make sure you make enough to cover the entire cake. Trying to make another batch exactly the same shade is going to be difficult.
Using artificial flavourings not only leaves the buttercream tasting of chemicals but most often than not, they are oil based which will leave the buttercream oily and difficult to hold its shape.
Bad buttercream is stiff as a rock with ragged edge and swirls. Adding too much sugar to the butter is probably the way this happens, as well as making it over sweet.
Different flavours
Chocolate buttercream? – Replace ½ cup of unsweetened cocoa powder for icing sugar – add a little coffee powder to enhance the chocolate.
Mint/almond/maple- Replace the vanilla with the mint/almond or maple
Citrus – Add the zest of lemon, lime and orange to the buttercream to add a refreshing edge.


