

Layered Vanilla Sponge Cake with Rainbow Sprinkles
A cake is always a way of telling a story. A birthday, wedding, anniversary or just because a cake makes everything feel special.
A vanilla sponge is a good bet for a cake, after all what’s not to like?
Layers of sweet butter cream covering soft delicate cake with the tartness of jam, all in a slice of heaven with or without a cup of tea.
If you’ve never butter creamed the outside of a cake before, be brave, it’s really easy to do.
Go to the tip box below, and follow the instructions. But my best tip would be to use an offset spatula, it makes life so much easier when doing jobs like this, and a lot less messy too!
Go in, give it a go and enjoy your sweet life!

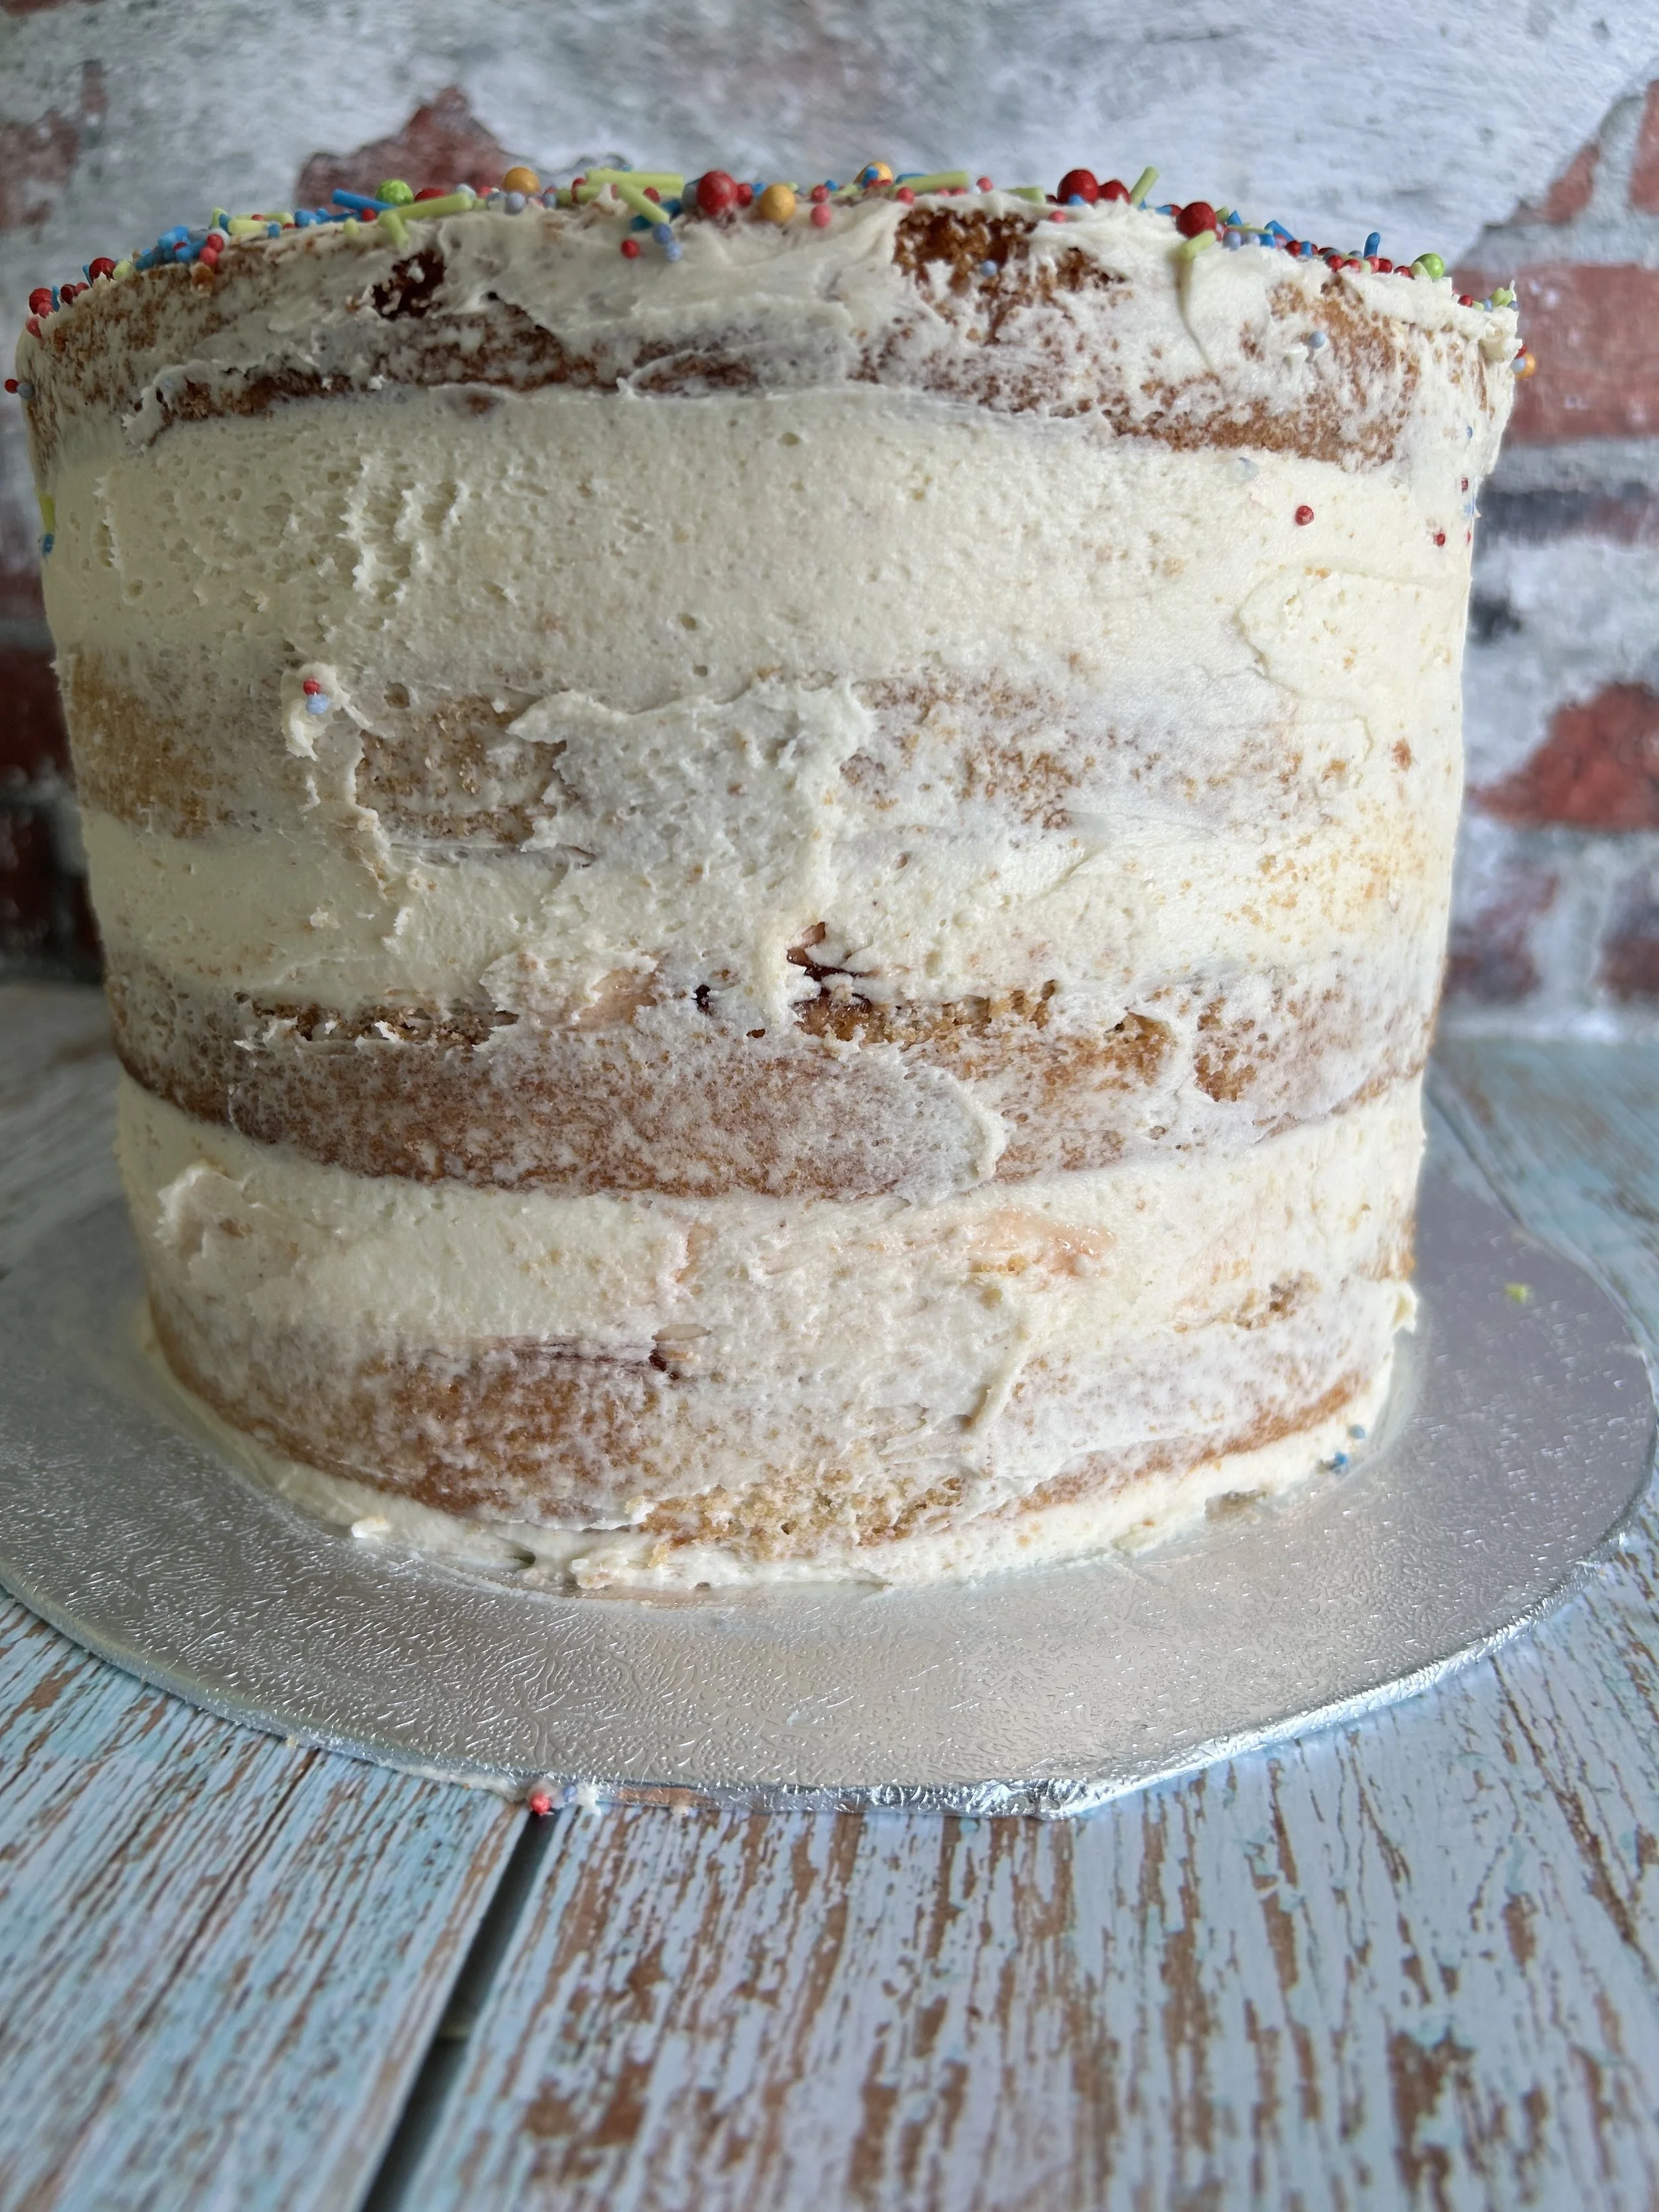
Tall and delicious
What You Need
Cake
4 x 8 Inch shallow cake tins or 3 x 10-inch shallow cake tins
400g Castor Sugar
400g Margarine – such as stork – See Tip Box
400g Self Raising Flour
8 Large Eggs
4 Tbsp Milk
2 Tbsp Baking Powder
2 Tsp Vanilla Extract
Extra margarine or butter for tin preparation
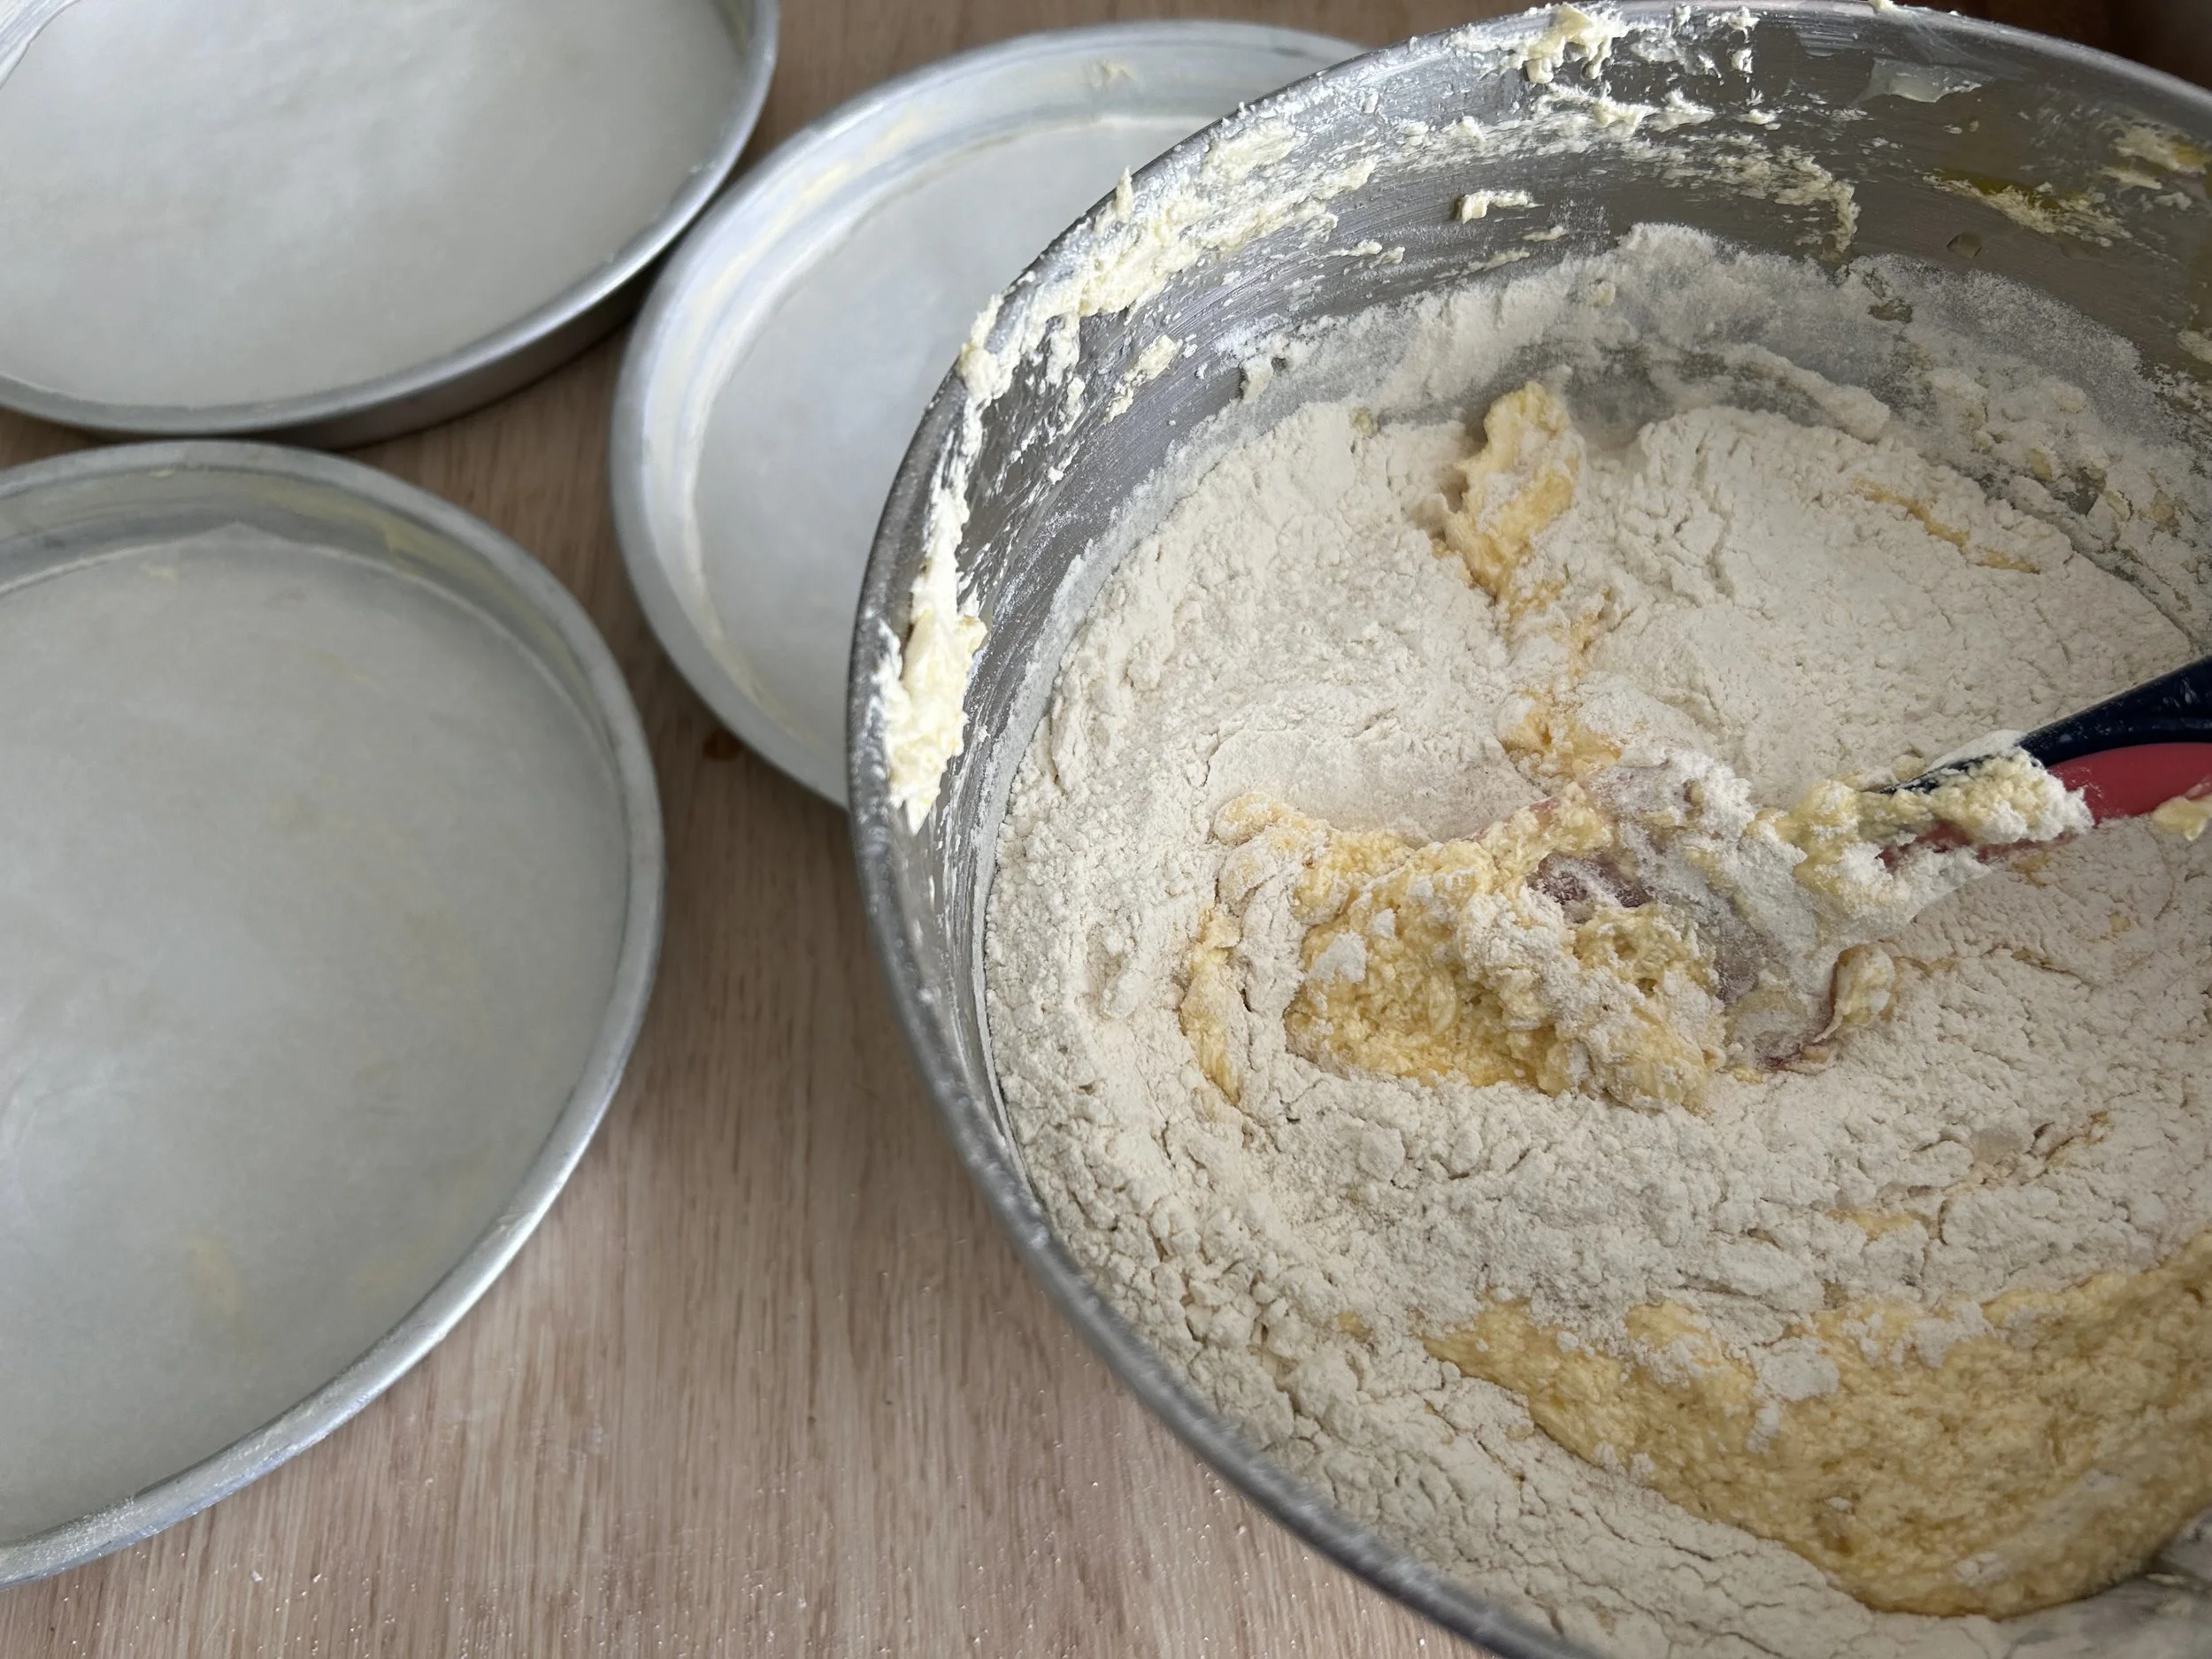
Folding in the flour by hand makes it lighter
Buttercream & Filling
1 Jar Raspberry Jam
200g Salted Butter – Softened to room temperature
280g Icing Sugar – Sifted
2 Tsp Vanilla Extract
Rainbow Sprinkles
May need milk – See Tip Box

Add a layer of buttercream on each tier
How It’s Done
Heat the oven to 180c
Prepare 4 x 8-inch shallow cake tins – See Tip Box
Place the margarine into the bowel of an electric mixer and beat on medium until the margarine is lighter in colour
Add the castor sugar and beat again, scraping down the bowl every couple of minutes, until the margarine is fluffy and has increased in volume – about 10 minutes – Be patient
Break the eggs into a small bowl and then add them to the margarine mixture one at a time, making sure each egg is thoroughly mixed in before adding the next – Scraping down the bowl
Once the last egg has been added, let the machine run on medium speed for around 5 minutes.
With the mixer in slow, add the vanilla, baking powder and milk
Turn the machine off and add the flour to the bowl
Using a large metal spoon or a silicone spatula, fold in the flour by hand until it’s all mixed in – don’t over mix – See Tip Box
Gently divide the cake mixture between each of the prepared tins and level gently
Place the cakes into the hot oven and bake for 20 minutes until they have risen, golden and a tooth pick comes out clean – See Tip Box
Once the cakes are baked, remove from the oven and, keeping them in the tin, leave them to cool completely – cooling overnight is best
When ready to assemble the cake make the buttercream.
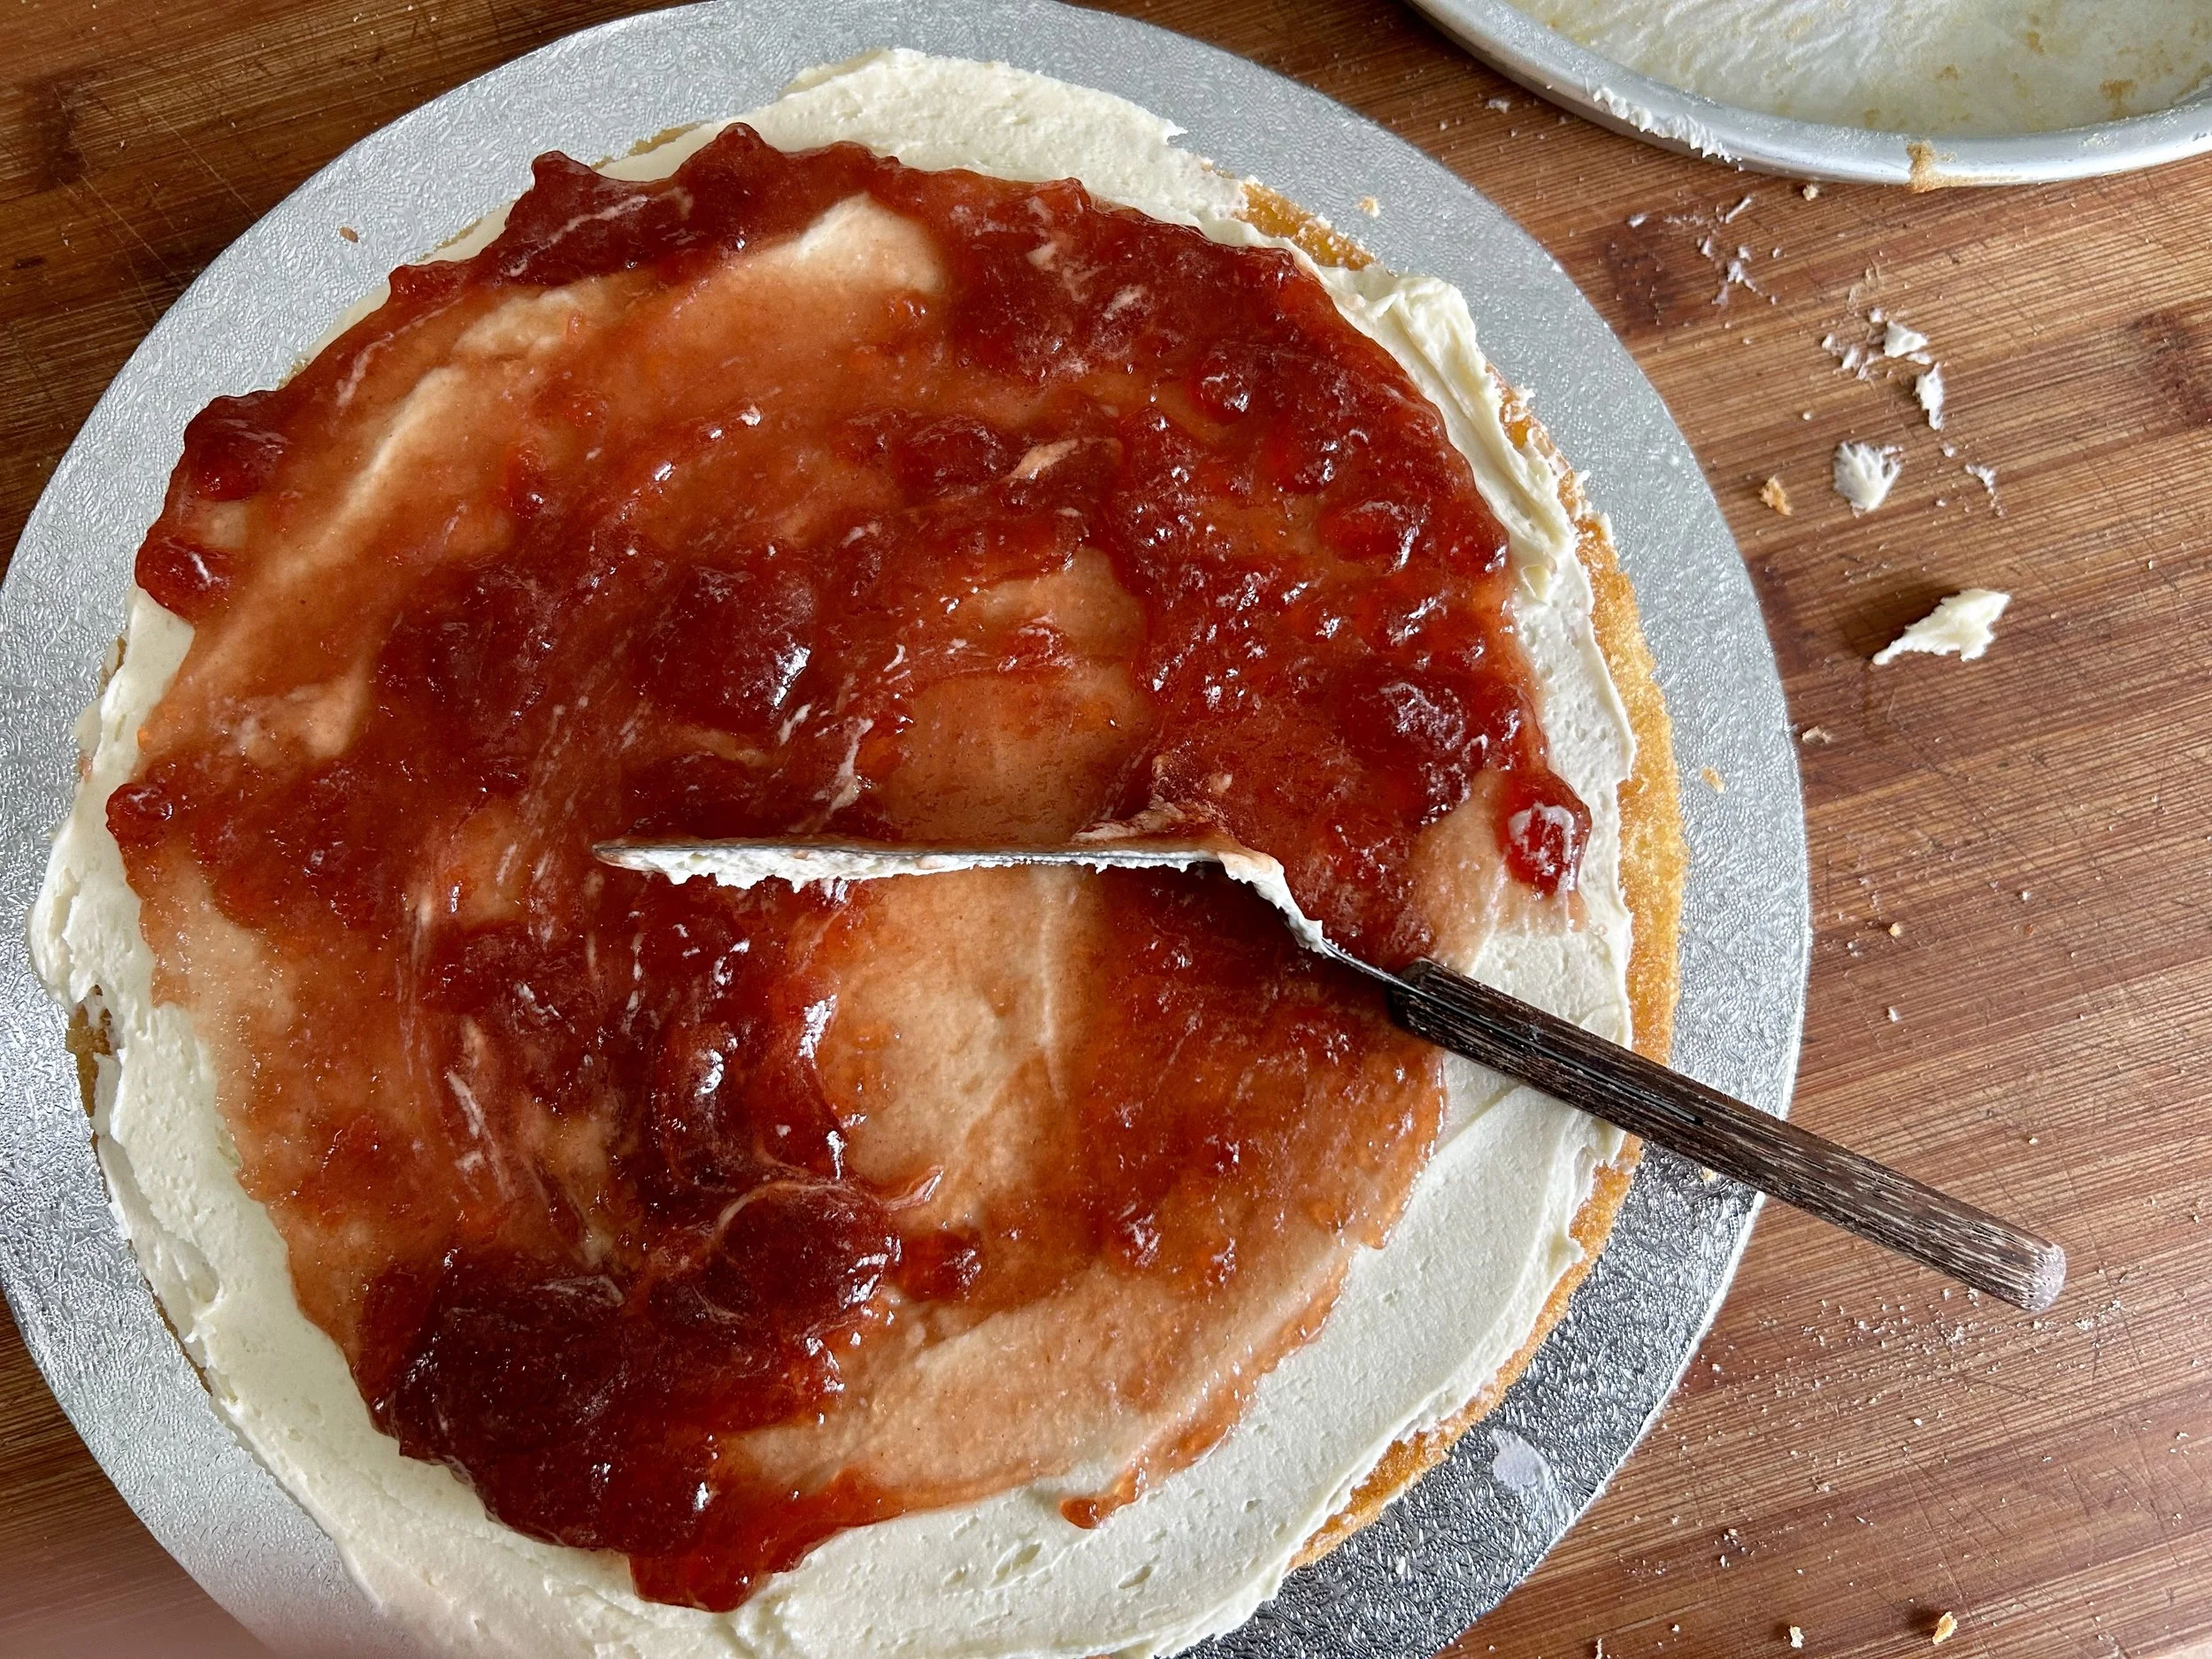
A layer of jam on top of the buttercream
Buttercream
Be patient making this buttercream
Add the softened butter to a clean bowl of an electric mixture and beat until the butter increases in volume and lightens in colour – scrape down the sides of the bowl often – about 10 minutes – be patient
Add the vanilla and icing sugar to the butter and beat on medium speed until it becomes very pale in colour and it increases in volume – around 10 to 15 minutes.
Let the buttercream rest for 10 minutes before using
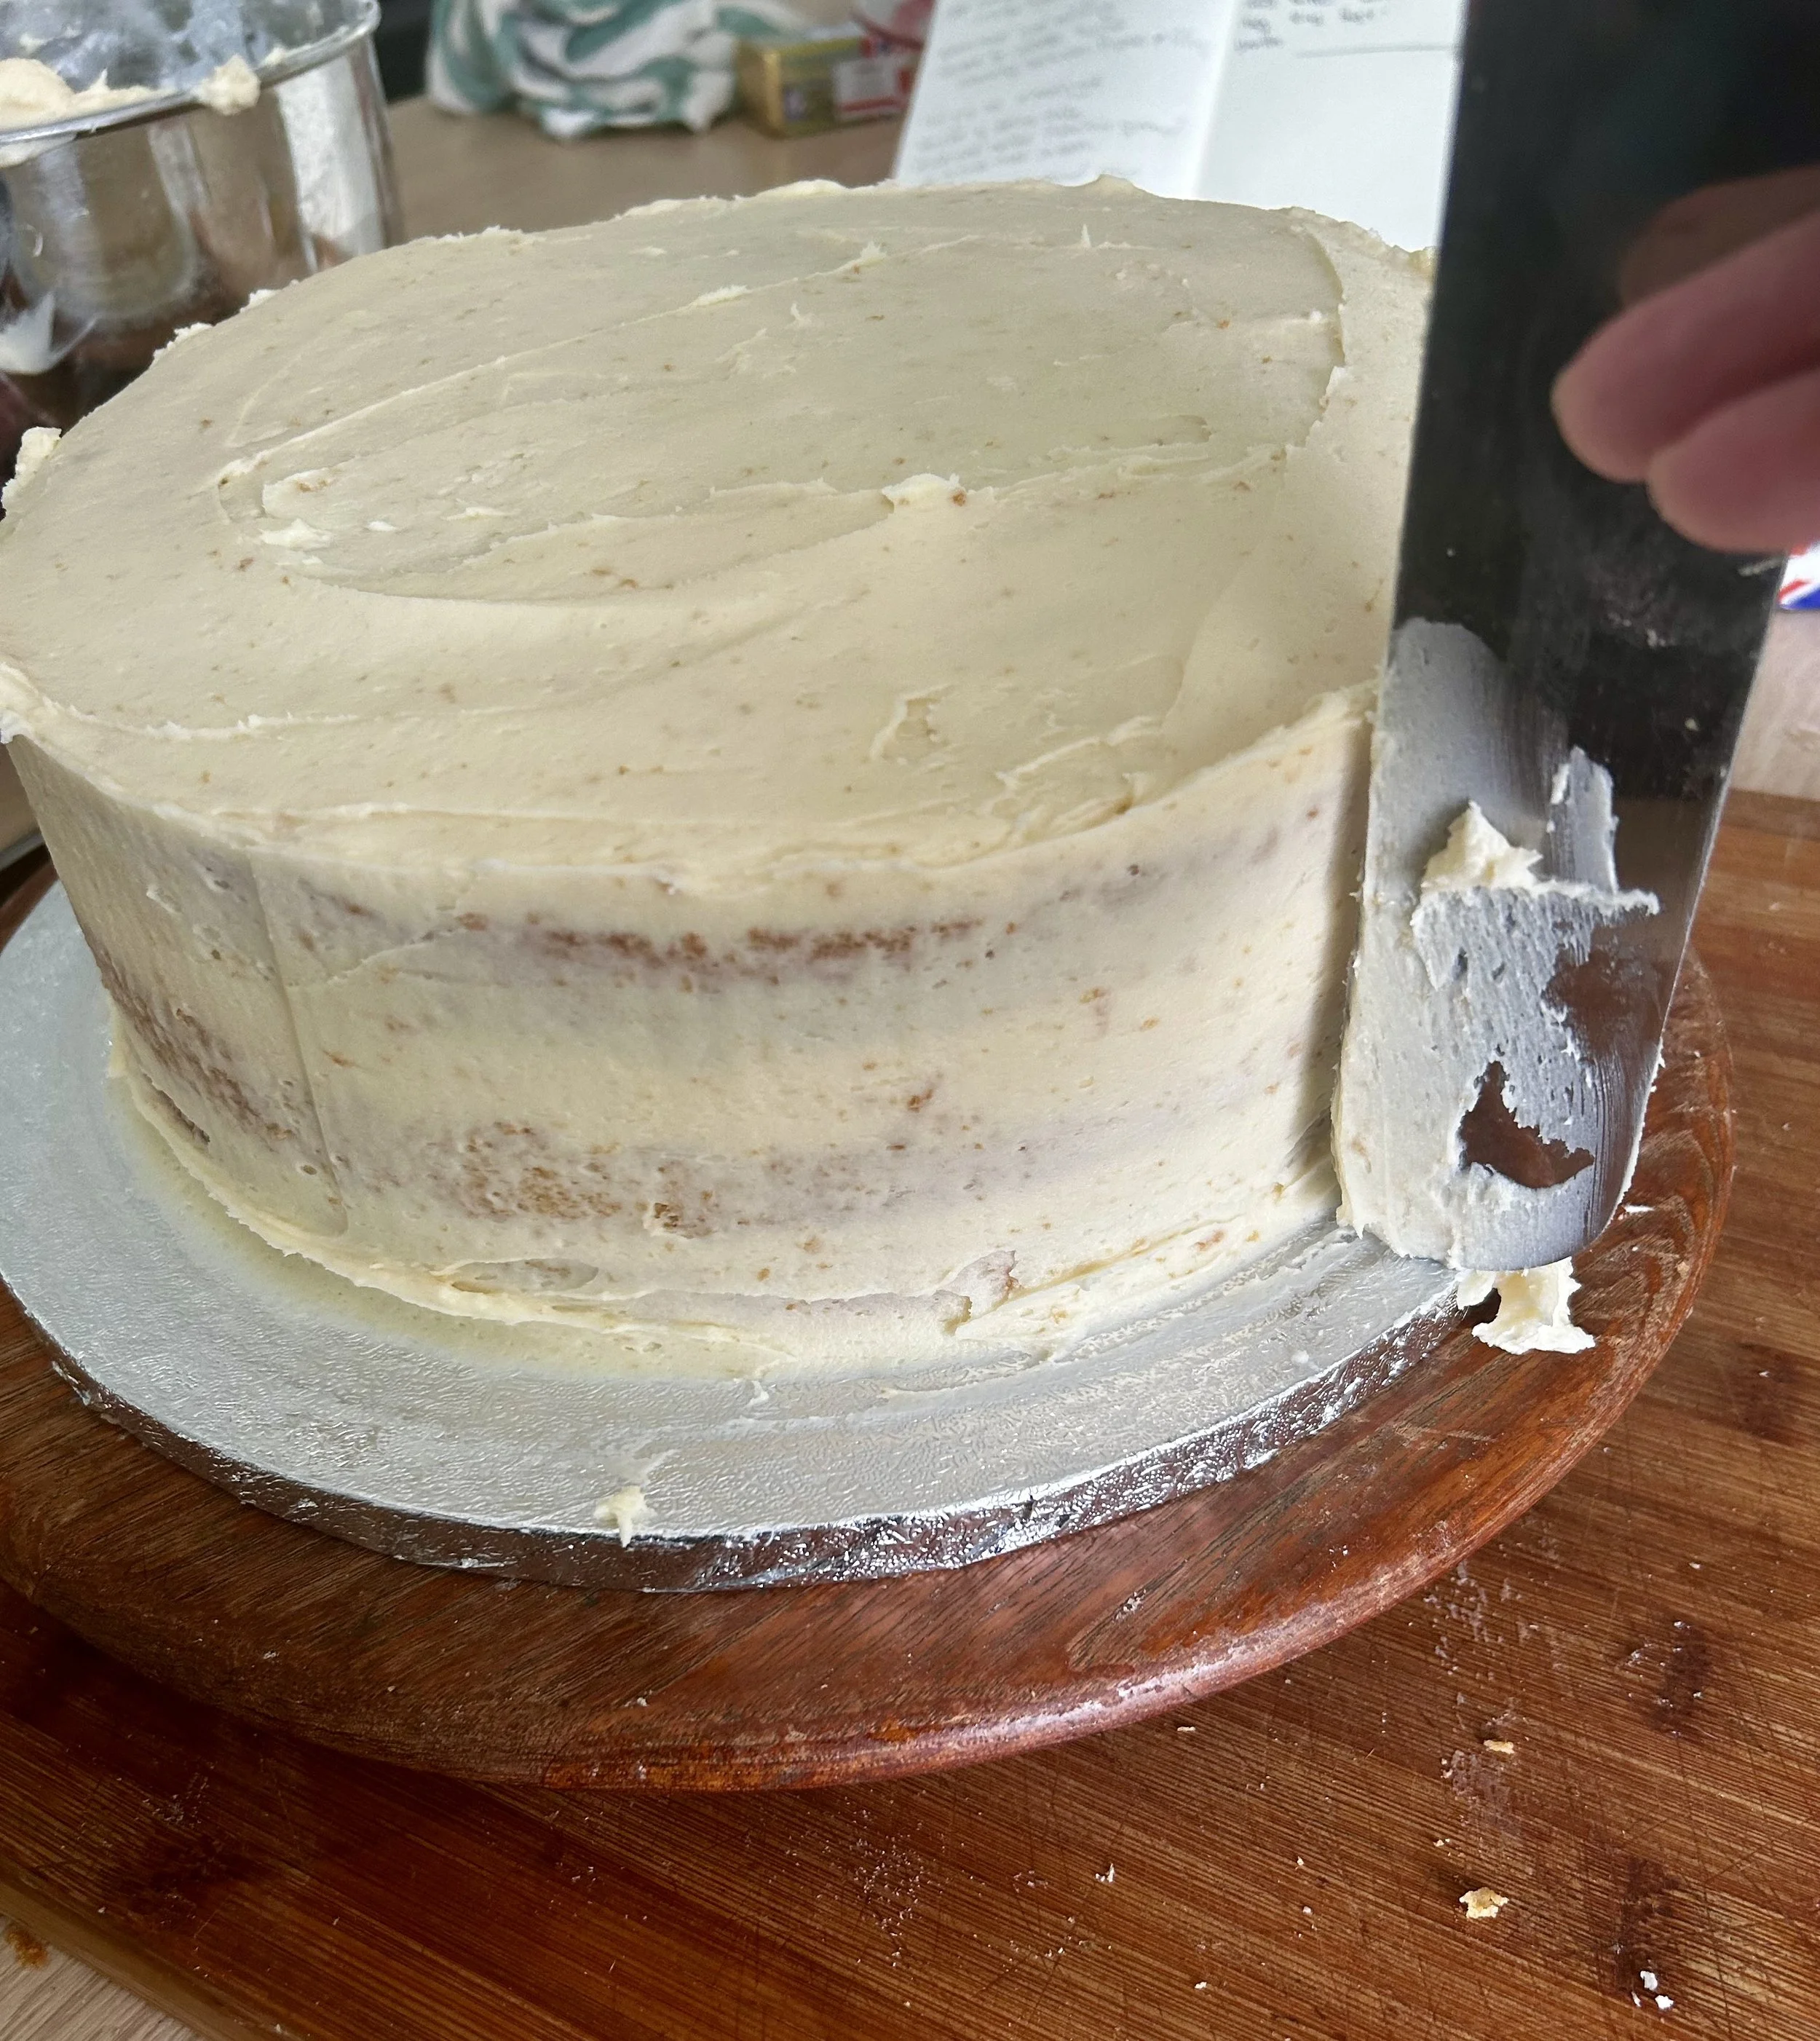
This is a two layer 10 inch cake - but you get the idea
Assembly
Run a spatula around the inside edge of the cake tins to loosen them
Spread a little of the buttercream on to a cake board or flat serving plate
Remove one of the cakes, and place it onto the cake board.
Don’t forget to remove the baking paper
Divide the buttercream in half and from one half, place a dollop of buttercream on top of the cake and using a spatula or butter knife, to spread It evenly
Place a big dollop of jam into a small bowl and break it up with a fork.
Spread the jam over the top of the buttercream.
Place another cake layer on top of the jam
Repeat until all the layers are used and the last cake layer is sitting on top
Start to cover the outside and top of the cake with the remaining buttercream.
Using a spatula, smooth out the top and sides of the buttercream around the cake – See Tip Box
To decorate, very gently sprinkle the rainbow sprinkles around the top edge of the cake
Store in a cool place or in the fridge
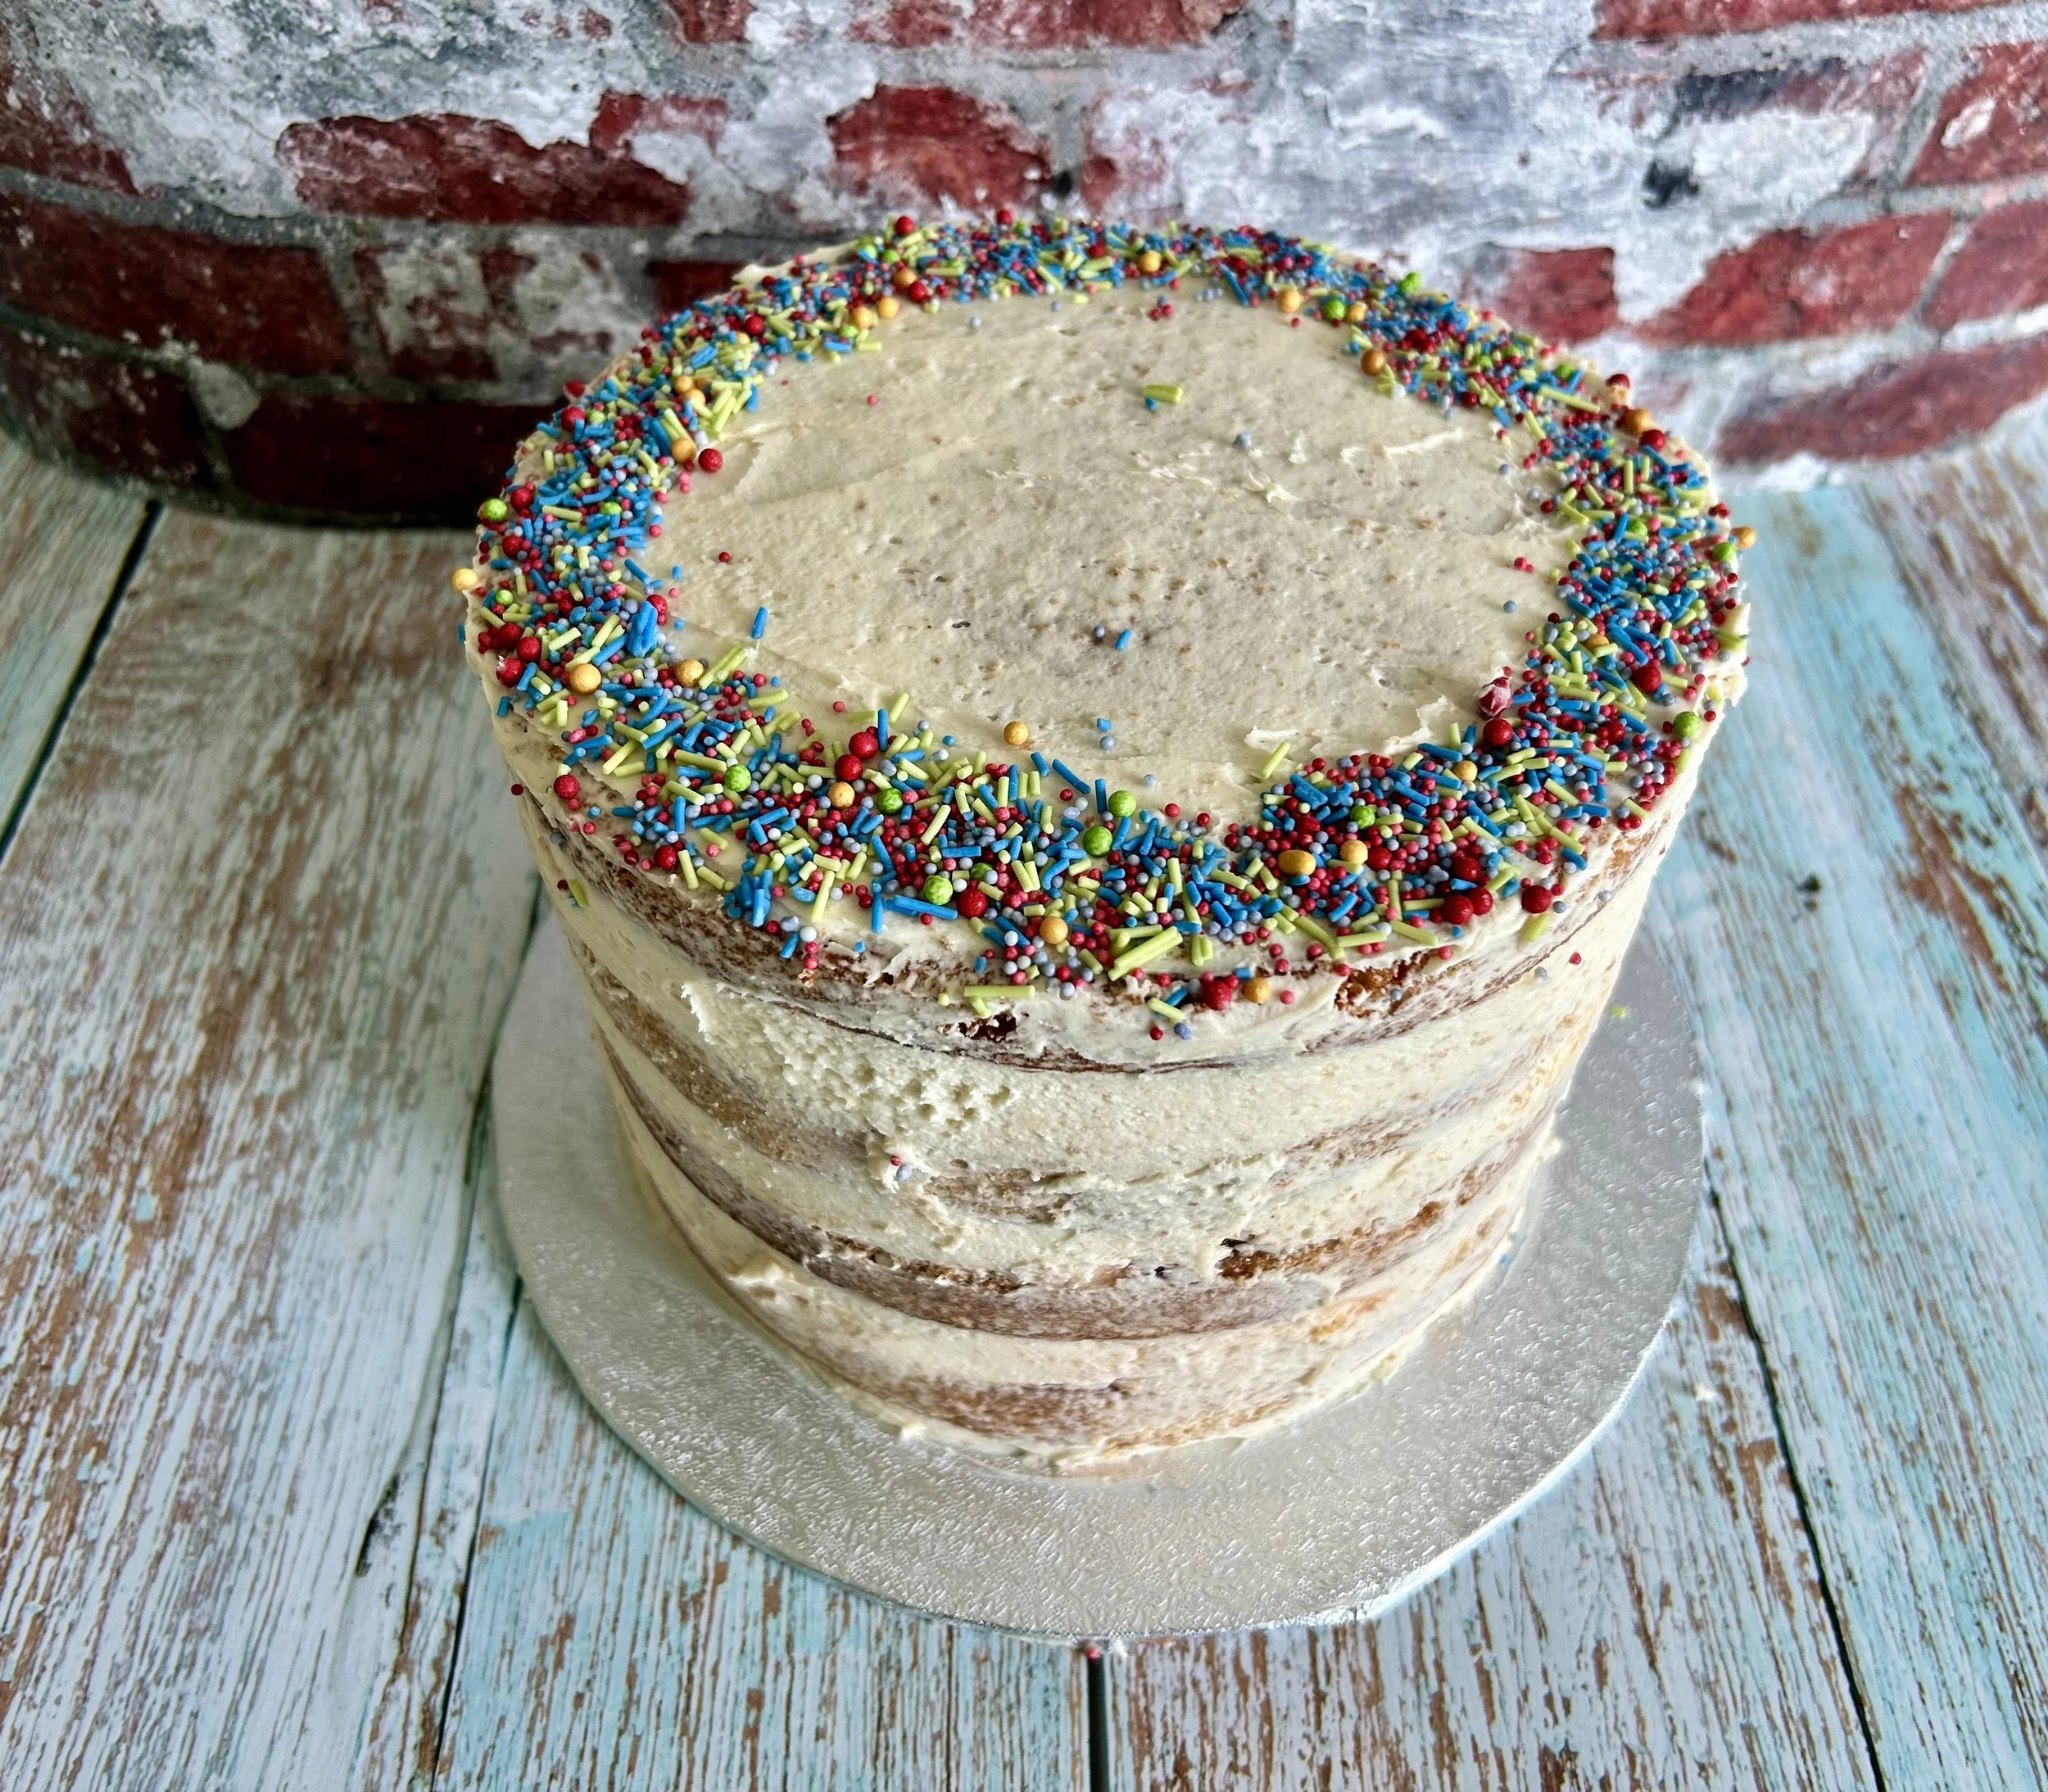
Use the sprinkles to make a pattern around the top
Tip Box
Prepare Cake Tins – Use margarine or butter to rub all around the inside of the tin, making sure its all liberally covered.
Add some flour to the tin, and role it around the inside of the tin so that there is a coating of flour. Tap out excess flour.
Cut out circles of non-stick baking parchment to fit the bottom of each cake tin and place one into each of the prepared tins.
Fold in the flour - Folding in the flour rather than beating it in, will make sure that the cake stays light . Use the metal spoon or silicone spatular to make a figure eight in the mixture, turning the bowl as you go.
Don’t over bake – Over baking the cakes will make them dry, so keep a watch on the cooking time.
Add milk to the buttercream – The buttercream should be light and spreadable. If it’s too firm, add milk, one tablespoon at a time – mixing in really well after each addition, until it gets to the right consistency.
Take time when making the buttercream – Don’t rush making the buttercream, spending time beating it will be well worth it. It incorporates air, makes it lighter and makes sure that the icing sugar is completely mixed in.
Putting on the buttercream on the outside of the cake – Time to cover the cake – don’t panic! Putting the buttercream onto the cake is easier than it looks, all it takes is a bit of patience.
Start by putting 1/3rd of the remaining buttercream on top of the cake and spread it around the top until it starts to overhang the cake.
Begin to add blobs of the rest of the buttercream around the sides of the cake and using an offset spatula, or blunt knife, smooth on and scrape off the buttercream until all of the cake is covered and there are not gaps in the icing, but some of the cake can be seen.
Use the spatula to bring the overhang of the buttercream that was on the top down the cake and smooth it out.
The buttercream doesn’t have to be perfectly smooth.

