

Choux Buns with Brown Sugar Craquelin Top and Vanilla Mousseline Cream
Looking for something to pimp up your choux buns?
Stop Looking, this is it!
I’m not sure if it’s the crunch of the brown butter craquelin on the top that pushes this dessert from good to great or the smooth and delicately flavoured mousseline cream in the centre that does it?!
At first view, it may feel a little daunting to think about making this from scratch all in one go, there may be more than one element to prepare, but following the stages in the correct order makes it really easy to make, even if it is a little time consuming.
Making the elements of the buns in the right order helps everything come together at the same time, which means less hanging around waiting for things to get cold or cool down before adding them to the choux buns.
The craquelin top has to be made then frozen before being cut to size, and then back in the freezer to set to make sure they are frozen before using.
So that’s the first thing I make before moving on to the mousseline.
Mousseline is just a posh custard with the addition of butter which make it super indulgent!
Making a custard base, is the first part of making the mousseline, and then adding gelatine to it, makes it more stable ready to accept the softened butter.
The first stage of the mousseline cream needs to cool completely before the softened butter is beaten in with an emulsion blender, so getting that first stage done is the second element to make.
The choux, although needed and of course is really important to the whole dish, can be made last or first, either way, they should be completely cold before filling with the mousseline.
My full proof method when making my choux bun mixture, just to make sure I get it right, in texture and cooked-ness before moving on to the next stage, is a food thermometer.
Getting the choux pastry up to 80c helps me know all the flour has been cooked out and its ready to cool down for the next stage.
The same applies when letting it cool down, before adding the eggs.
The best temperature is below 62c.
Below this temperature, the eggs won’t curdle with the heat.
But don’t let not having a thermometer put you off making choux, it’s pretty easy to get the hang of it.
In the first stage of cooking, the dough is ready when it pulls away from the saucepan and leaves a sort of fine film on the bottom of the pan.
And the second stage, before its time to add the eggs, the best way to do this, without a thermometer, just let it cool to room temperature.
To help with this dish, read the Tip Box before you begin, it has a few very useful hints to help with every stage!
Go on, give it a go and enjoy your sweet life!

Crispy brown sugar topping and creamy centre
Brown Sugar Craquelin
What You Need
115g Light Brown Sugar
115g Butter- Softened – Cut into small cubes – See Tip Box
115g Plain Flour
Pinch of Salt – See Tip Box

The craquelin should be rolled out super thin to work
How It’s Done
Place the brown sugar and softened butter into a stand mixer and, using a beat attachment, beat until it becomes smooth and creamy – 2-3 minutes
Scrape down the side as you beat.
Add the flour and salt if using, and beat again until it comes together to look like crumbly biscuit crumb. – See Tip Box
Remove the dough from the mixing bowl and bring it together into a rough ball
Lay out a sheet of non-stick baking parchment or silicone mat, lay the dough on the mat.
Add another sheet of parchment or silicone mat on top of the dough, and roll the dough out between the two.
The craquelin should be as thin as possible – See Tip Box
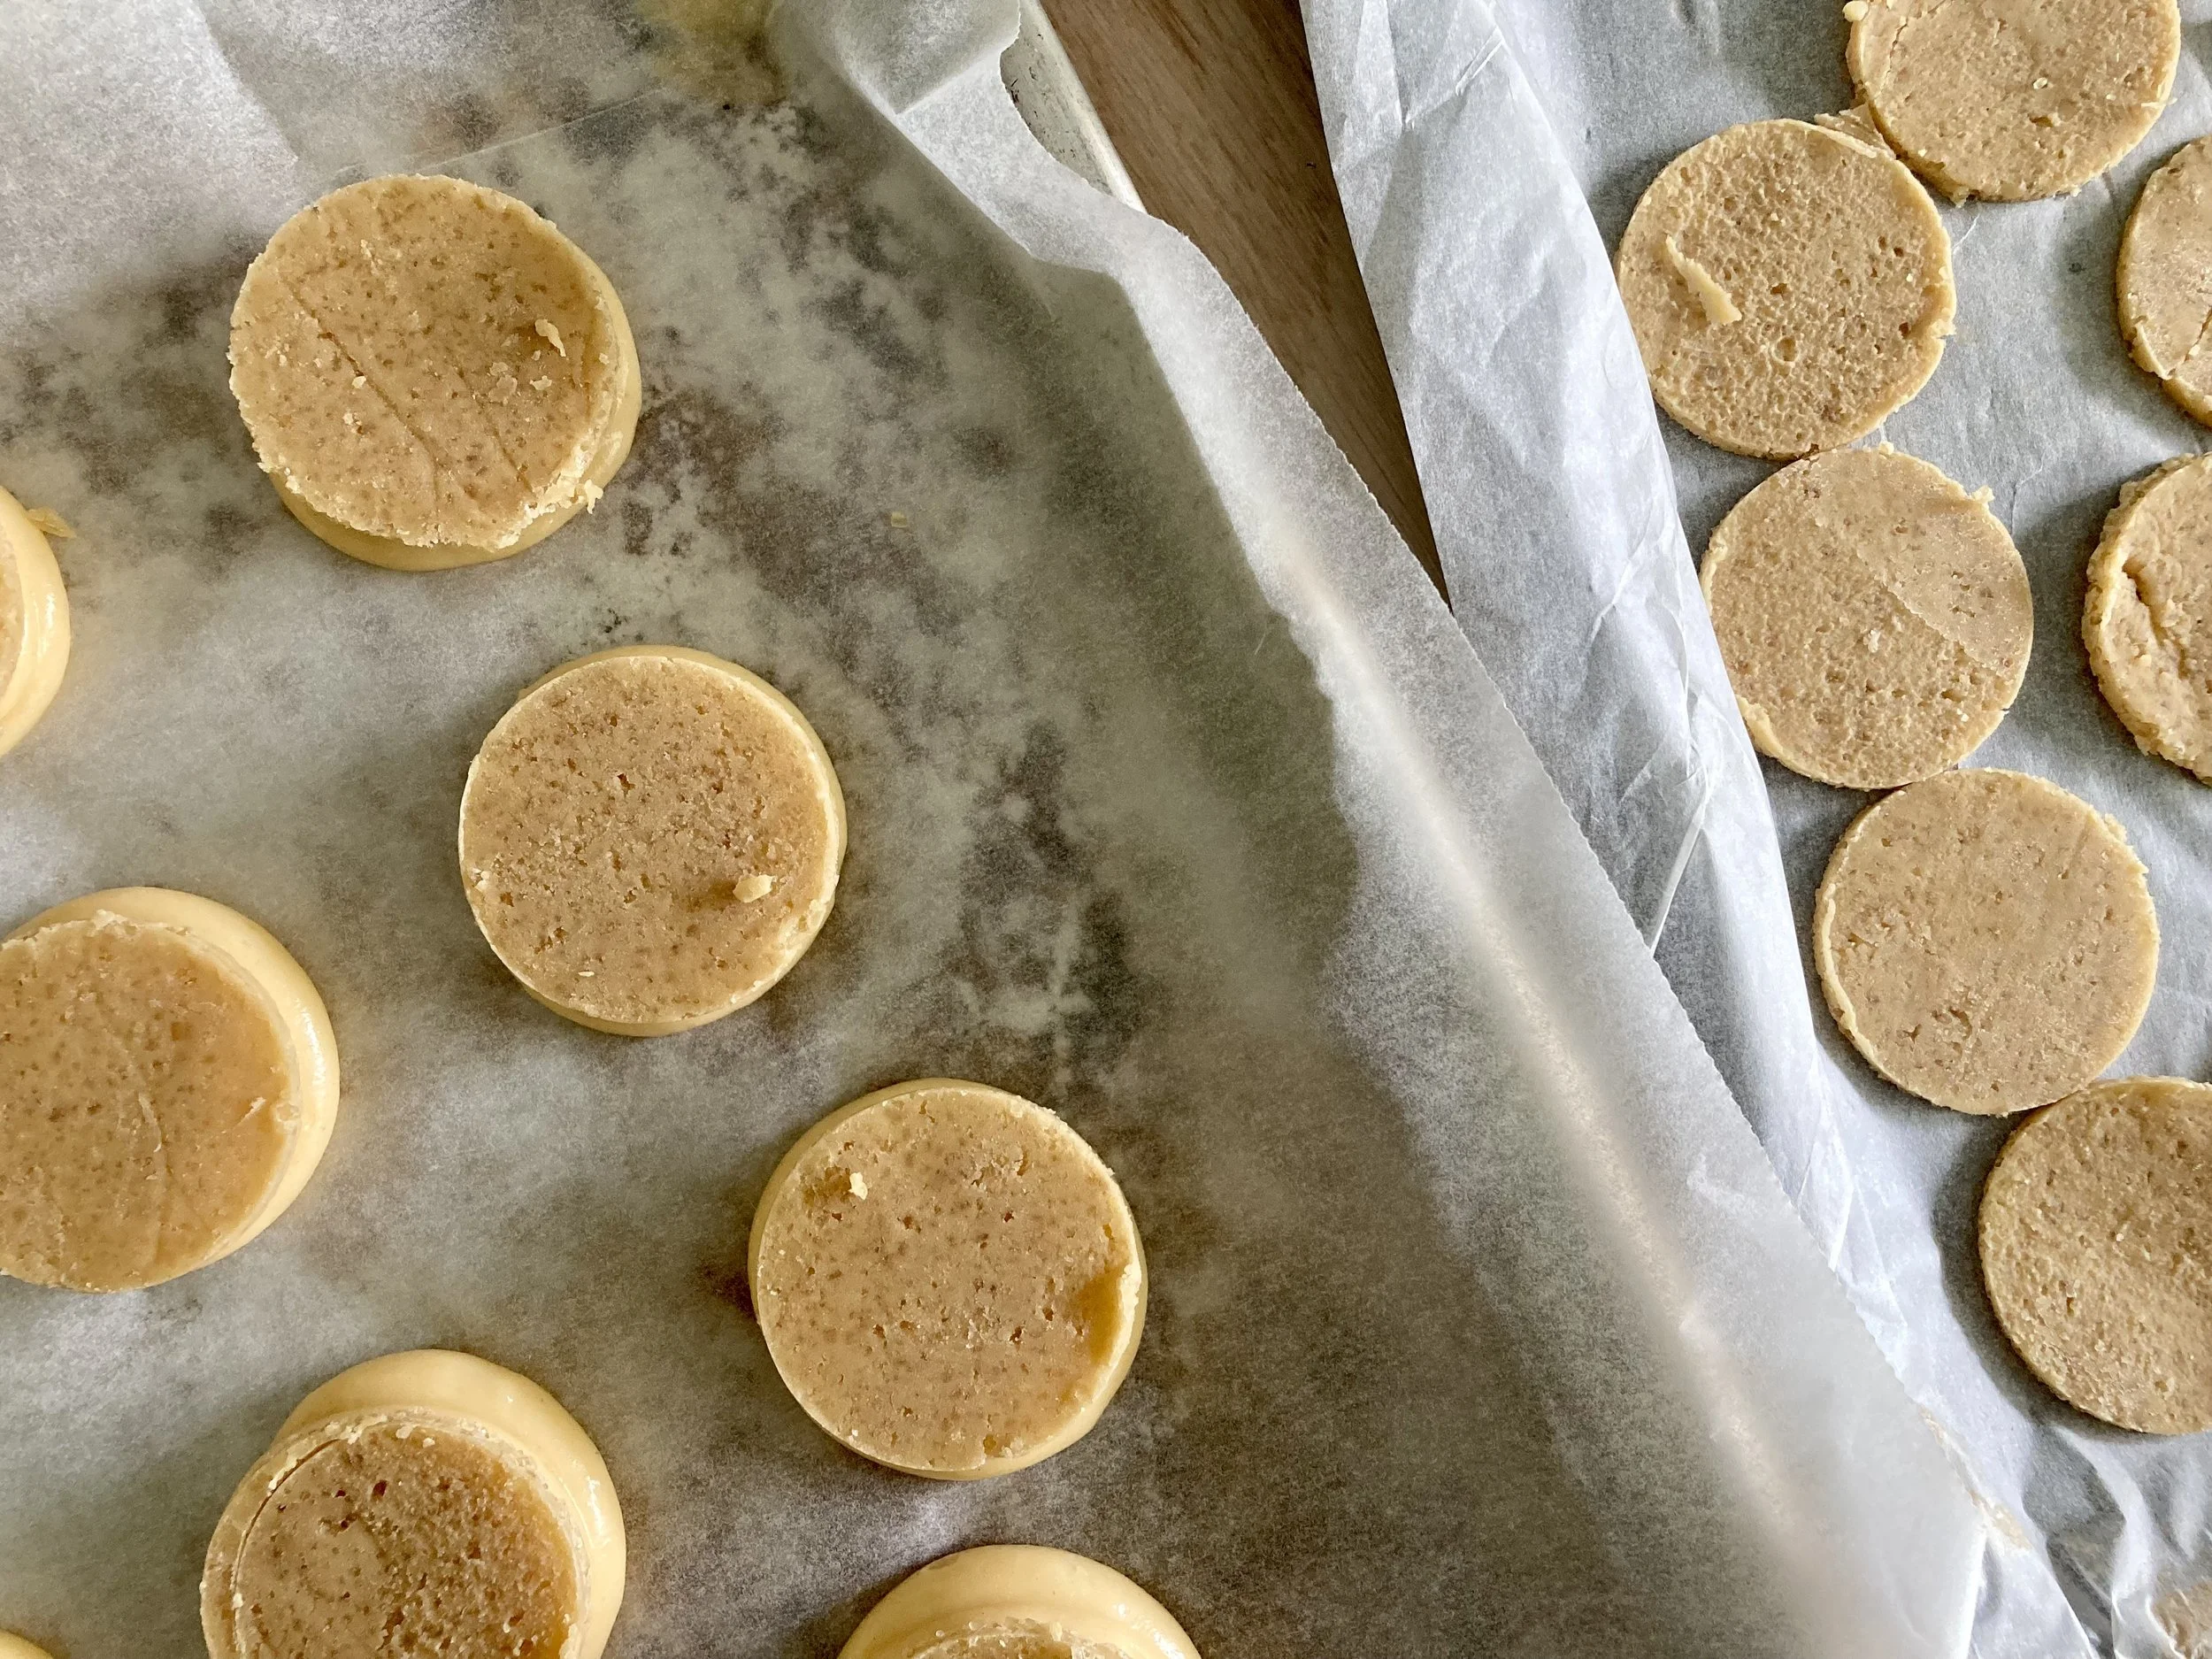
Remove the top layer of parchment or the silicone mat, and place the rolled out craquelin onto a tray and place into the freezer until frozen – Around 30 minutes
Once frozen, remove from the freezer and using a circular cutter, the same size as your choux bun, cut out circles from the craquelin.
Place the circles back onto the tray and freeze again until needed – See Tip Box

Cut the craquelin to fit the top of your choux buns
Tip Box
Butter – If using salted butter omit the extra salt from the recipe
Salt – If using salted butter, don’t add this salt into the recipe
Rolling out – 1) For the craquelin to work as it should in the oven, to melt and cover the entire top of the choux bun with a sweet crunch topping, it needs to be really thin. So, when rolling out, keep this in mind.
2) After initially rolling out between the two layers of parchment, gently peel the sheets off, replace them and roll out again.
Perfectly placed on the top
Mousseline Cream
300g Milk – See Tip Box
140g Butter - Softened
3 Egg Yolks from large eggs
60g Castor Sugar
30g Cornflour
9g Gelatine Granules plus 60ml cold water
2 Tsp Vanilla Extract
Gelatine makes the custard base more stable. Let the gelatine sit in the water and mix it in really well.
How It’s Done
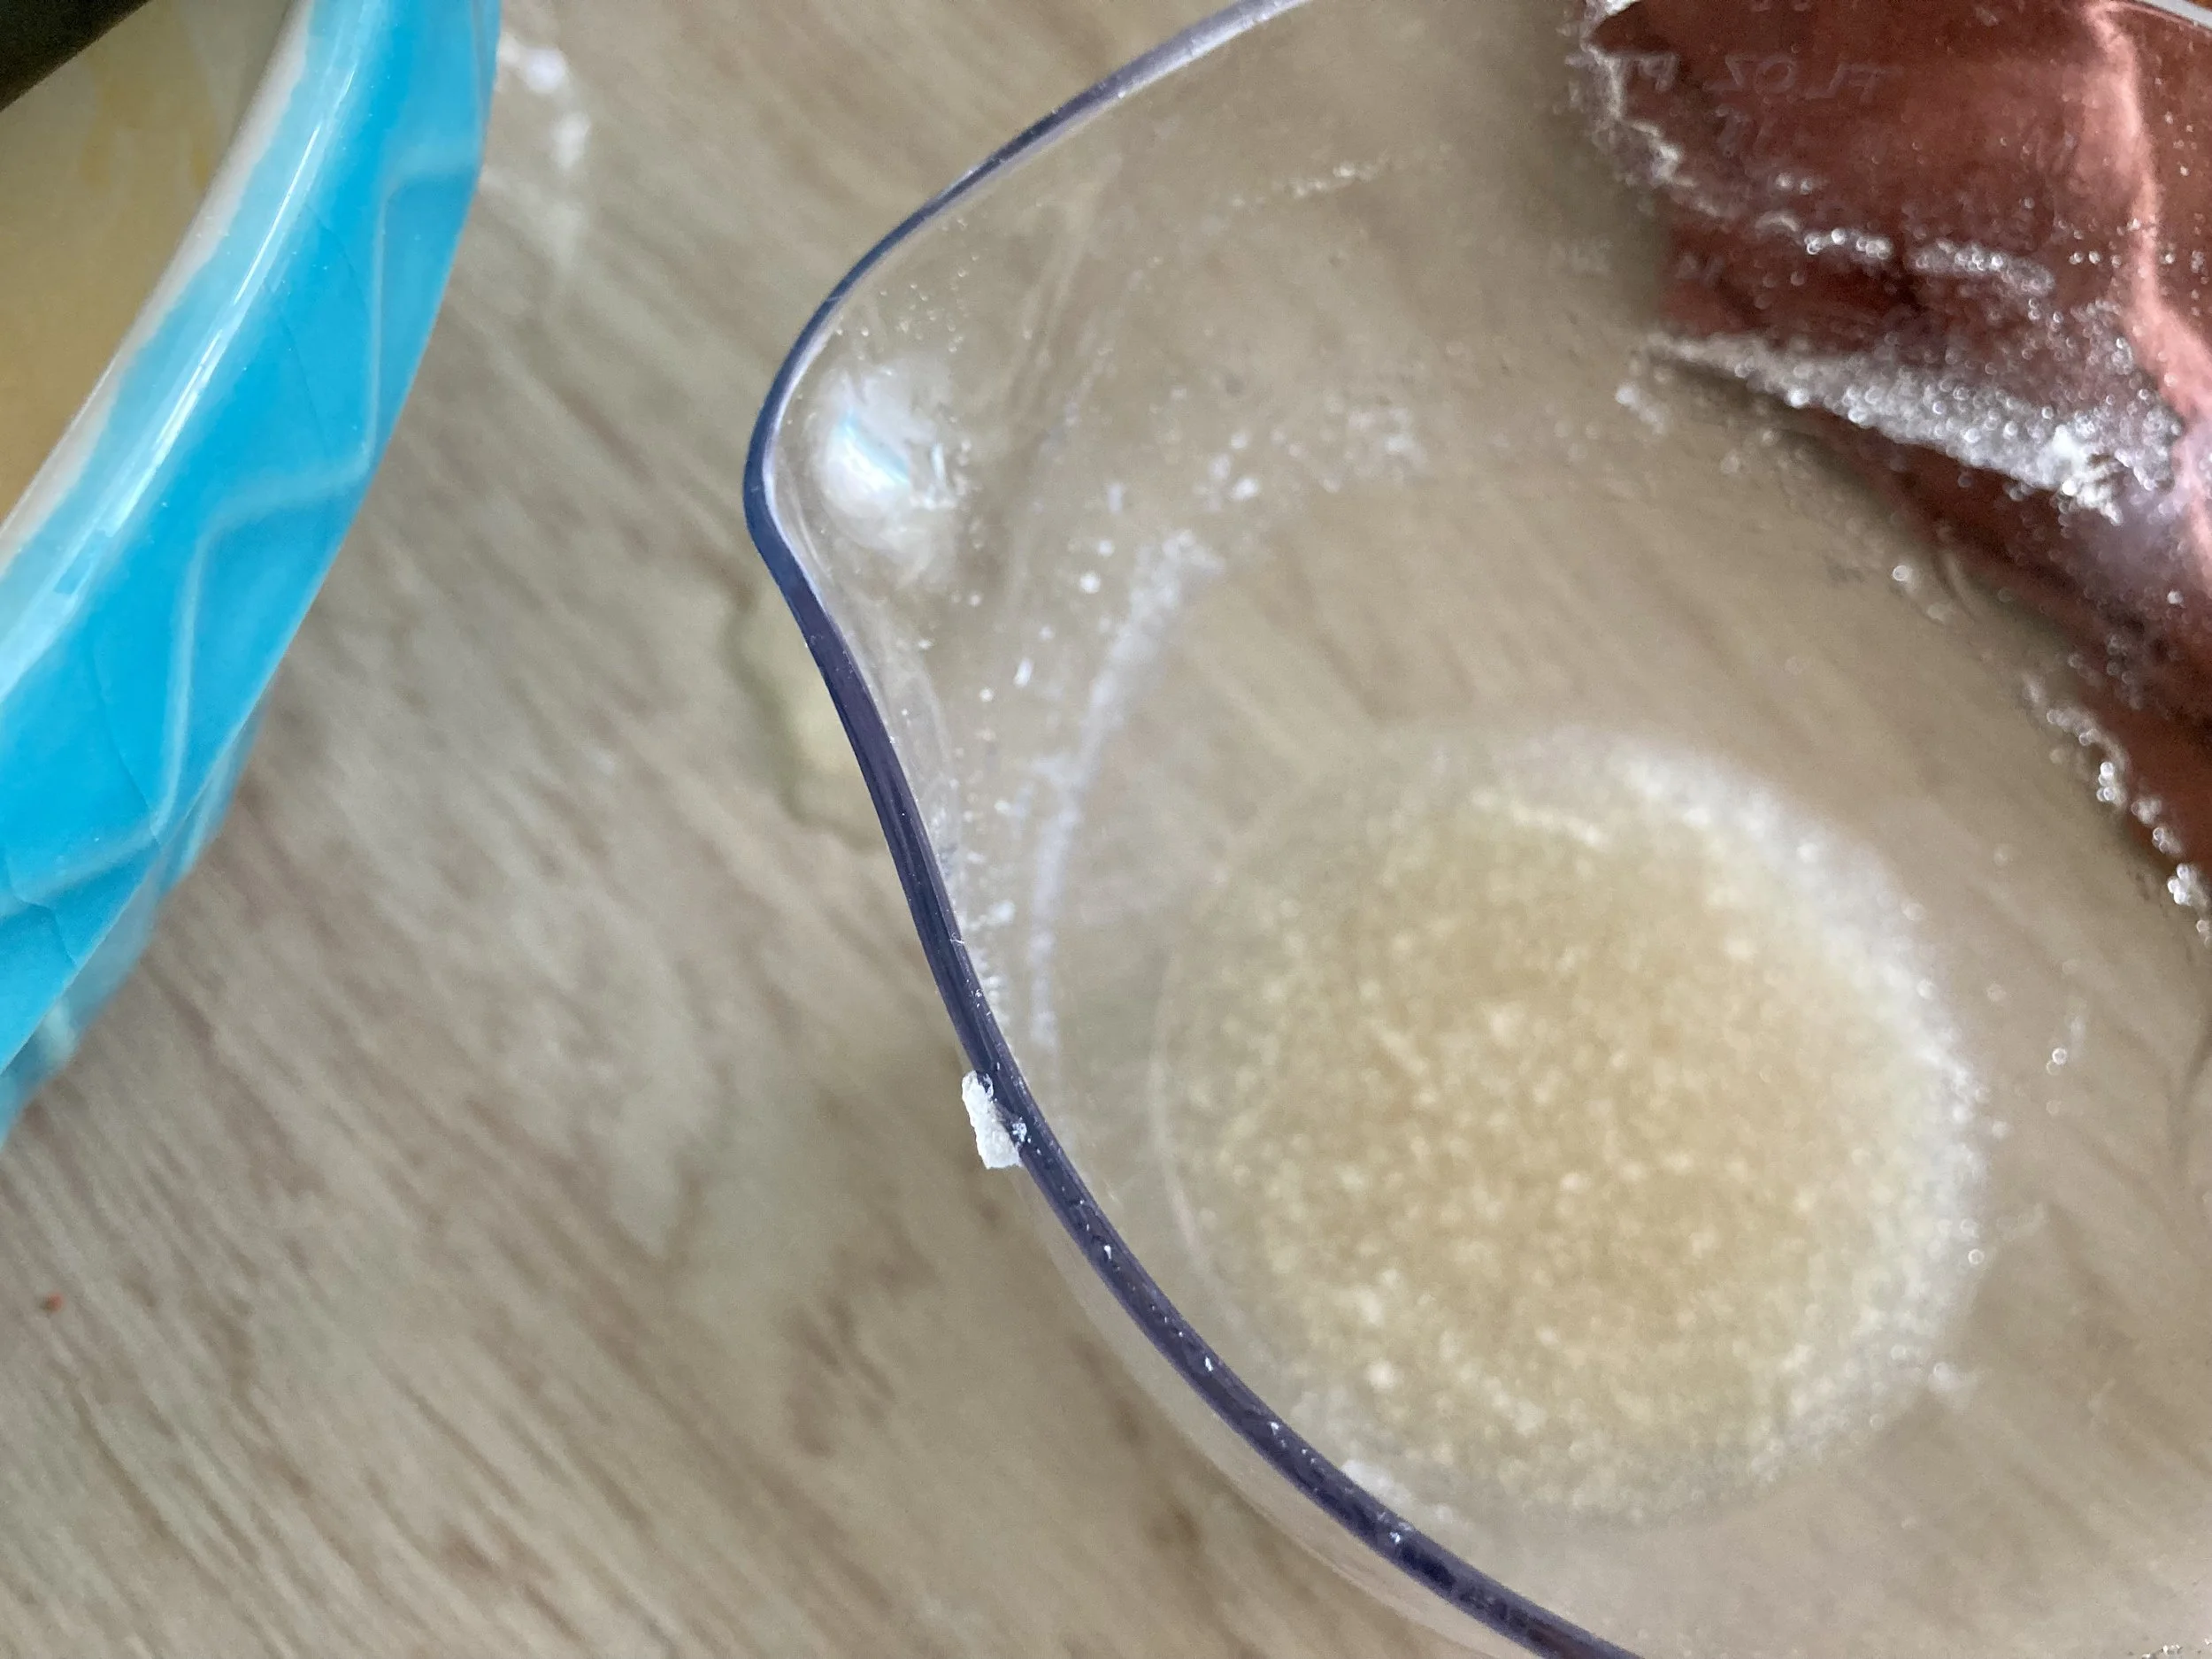
Place the gelatine granules into 60mls of cold water and mix quickly with a fork until all the granules and lumps have gone.
Set aside until needed and the gelatine has bloomed
Place the egg yolks and sugar into a bowl and use a hand whisk to whisk until it becomes frothy and a little pale in colour
Whisk in the cornflour until compete mixed in
Place the milk into a medium saucepan and heat until just before boiling point – See Tip Box
While constantly mixing, pour 1/3 of the heated milk into the egg mixture, until fully mixed in
Add the rest of the milk and whisk to mix
Return the saucepan to a medium heat and constantly whisking and heat until it becomes very thick.
Remove from the heat and add the gelatine mixture
Whisk it in to combine it all
Transfer the custard mixture to a bowl and lay a piece of cling film directly to the top of the custard mixture – See Tip Box
Place in the fridge to help it cool down quickly
Once cool bring out to sit in the counter, still covered.
Grab an immersion blender
Break off small bits of the softened butter and add them, one at a time to the cold custard, making sure each piece is blended into the mousseline completely.
What should be left is a very smooth, silky and shiny mousseline.

A smooth and glossy mousseline
Spoon the finished mousseline into a bowl and cover with cling film again until ready to use – See Tip Box
When ready to use fill a large piping bag, snip off the edge and pipe into the centre of the choux buns.

Into a large piping bag ready for pipe in the centre of the choux.
Tip Box
Emersion blender – An emersion blender is the thing that seems to work best when adding the softened butter
Eggs – Save the whites to use in other things, or freeze them in ice cube trays to use another time.
Milk – 1) For a super creamy mousseline, use a half milk and half double cream
2) It’s important that the milk doesn’t boil or burn, just heat until before boiling point.
Cling Film – Placing the cling film to let it sit directly on the top of the custard mixture, will stop a skin forming on the top.
Using – If making ahead, bring back to room temperature and give it a quick beat to lighten it up.
The choux pastry should reach 80c to be ready, another way os to look for that thin film left on the pan.
Choux Buns
What You Need
200g Eggs Beaten – Approx. 4 eggs – See Tip Box
235g Water
128g Plain Flour
84g Butter – Cut into small pieces – See Tip Box
8g Castor Sugar
1g Table Salt – See Tip Box

Once the eggs have been added, look out for this V shape when the paddle is lifted. Not there? Then its not ready to use.
How It’s Done
Heat oven to 200c
Place the water, butter, sugar and salt (if using) into a medium saucepan.
Heat the water up until it begins to boil and all the butter has melted completely.
Once melted and boiling, add all of the flour into the water and immediately beat with a wooden spoon until it comes together into a very thick smooth paste
Use a thermometer and once the pastry has reached 80c, and the pastry pulls aways from the edges of the pan leaving a thin film behind, the pastry is ready.
The dough needs to reach 62c or less, before the eggs can be added.
To do this, either:
a) Pour out the dough onto a cold oven tray and spread out a little to let it cool down.
b) Place the dough into a stand mixer and beat with a paddle attachment, on a medium speed, until it cools to the right temperature.
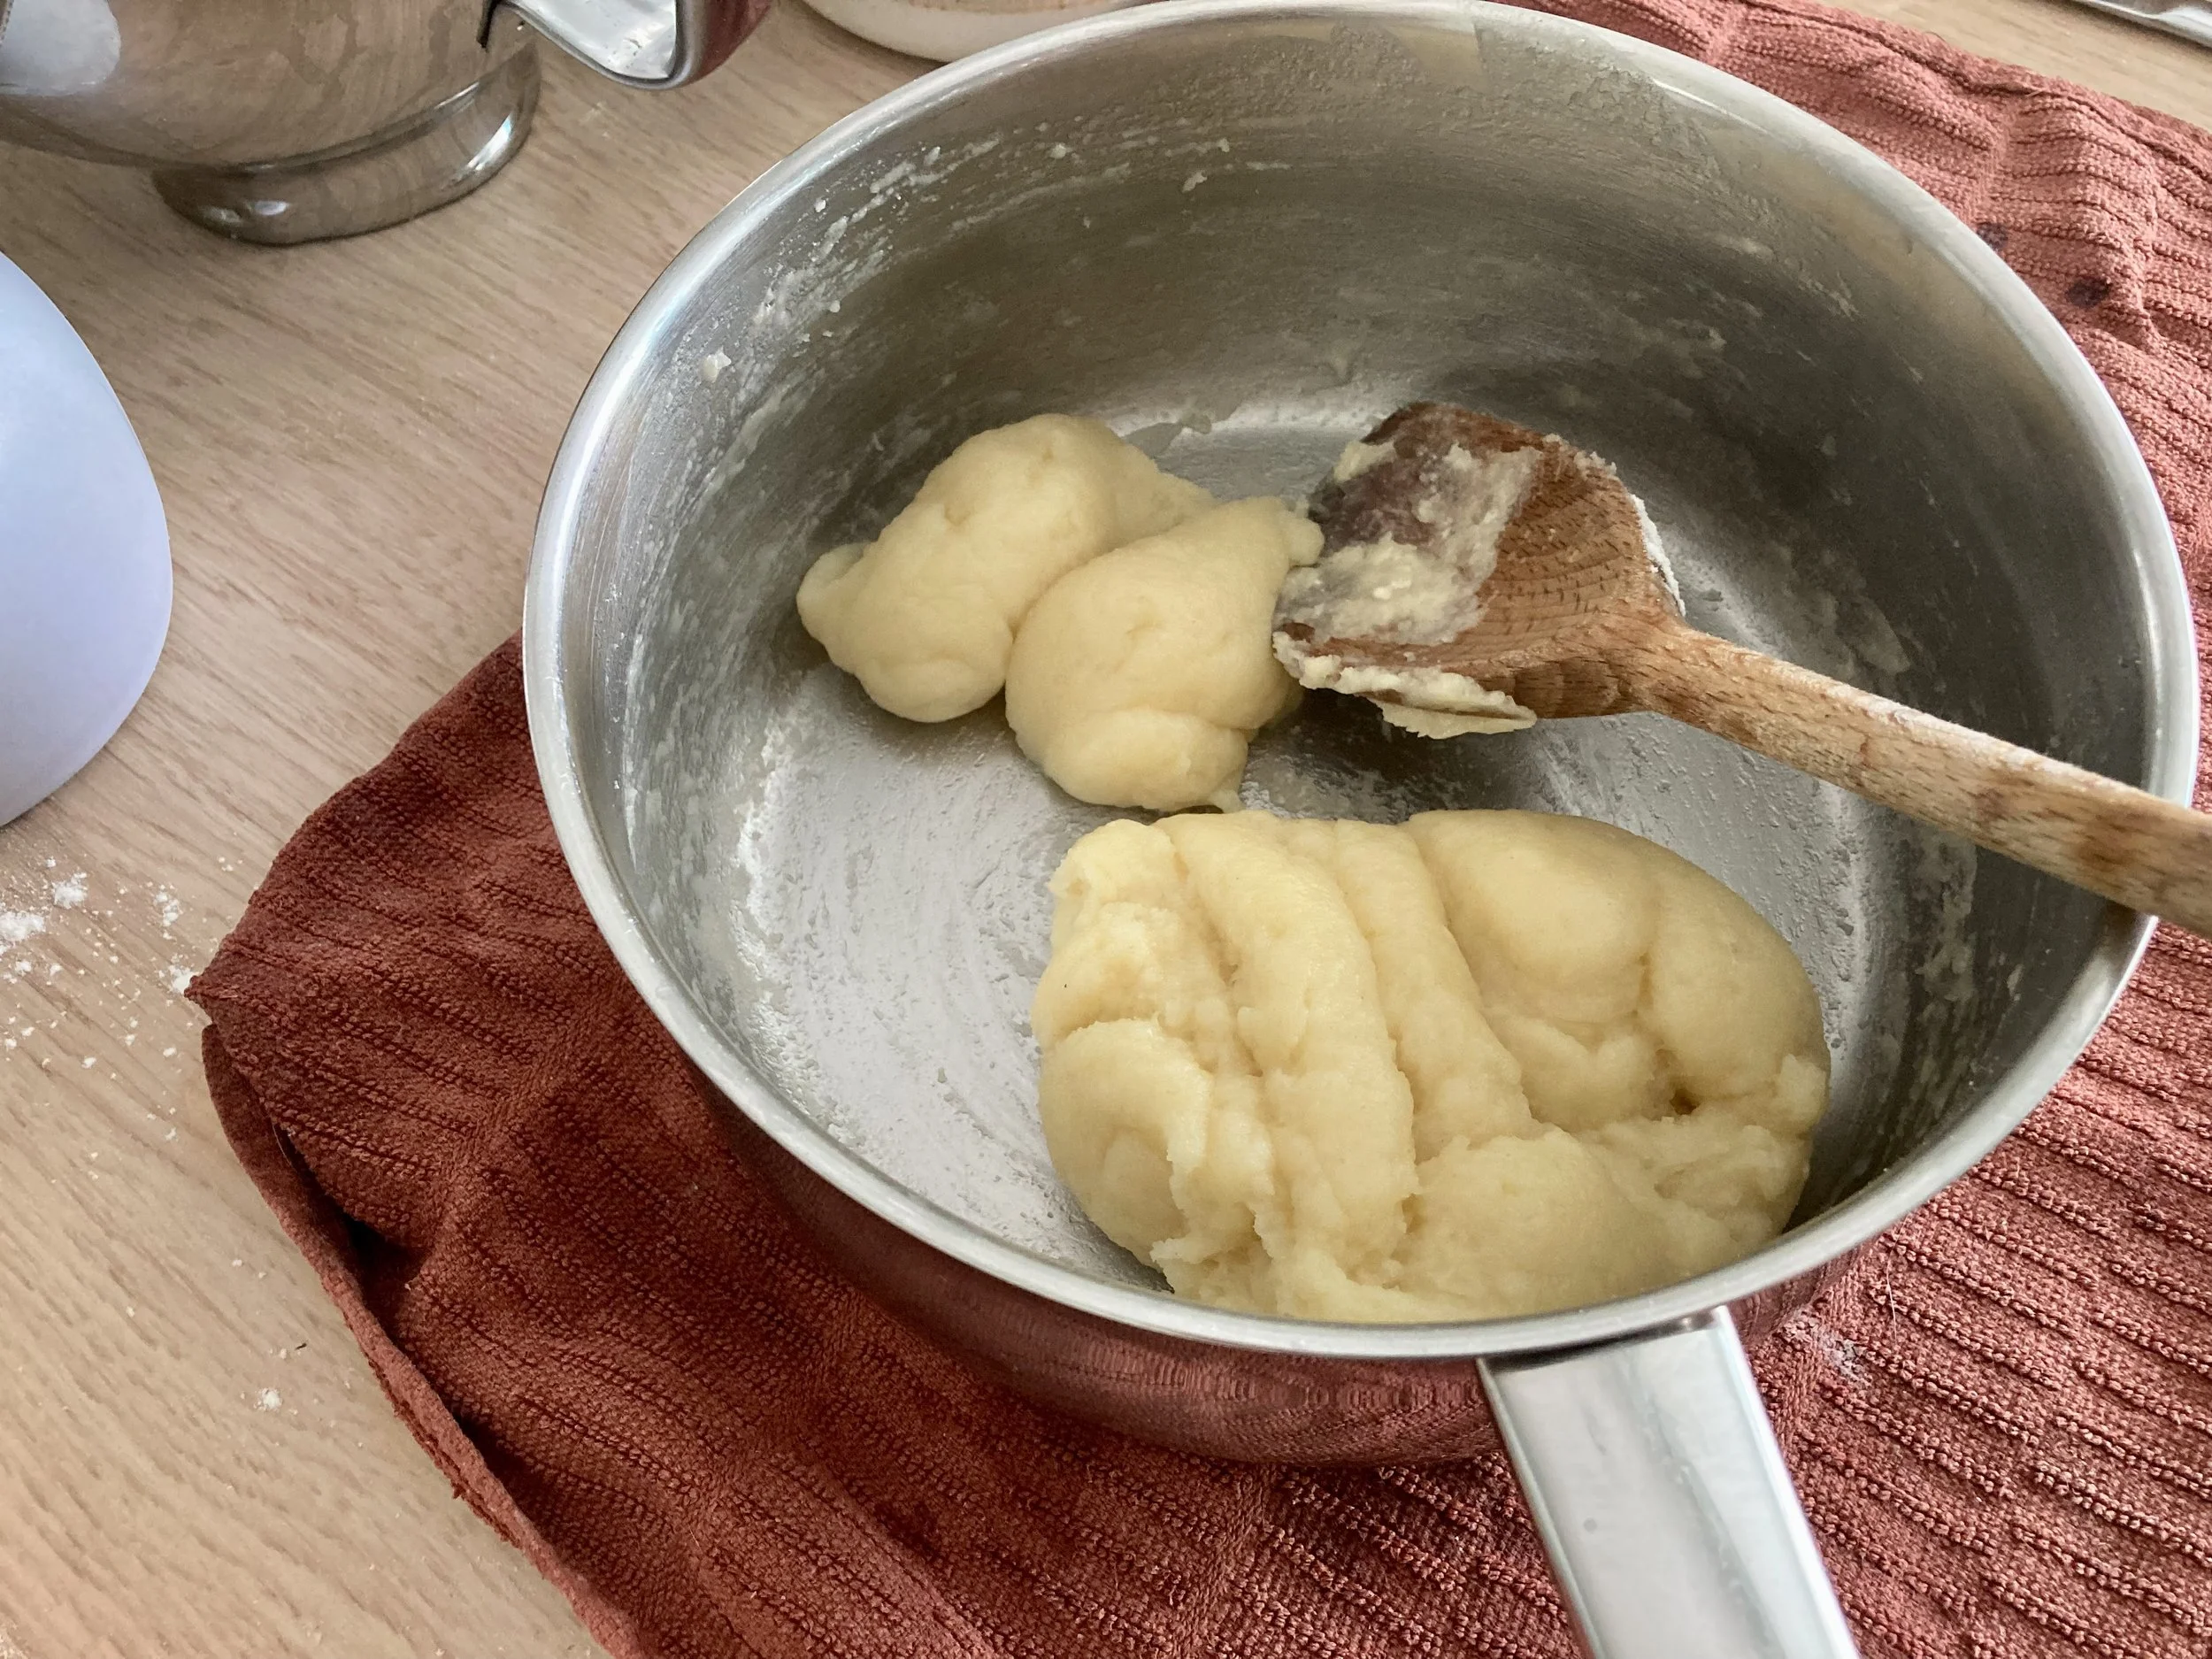
Once the dough is cool enough, with the mixer still on medium speed, add a couple of tablespoons of the beaten egg to the dough.
Once the egg mixture has been fully incorporated, repeat with another couple of tablespoons - See Tip Box
Keep doing this until the dough becomes thick, glossy and very smooth and when the paddle is lifted, the batter starts to fall in a V shape – See Picture.
(You may not need all of the beaten eggs – See Tip Box)
Fill a piping bag with the choux pastry and cut the end off the tip of the bag.
Prepare an oven tray by covering it with non-stick baking parchment or a silicone mat - See Tip Box
Pipe small mounds, a little larger than a walnut, of the choux dough onto the prepared trays, leaving 3cm spaces between each mound.
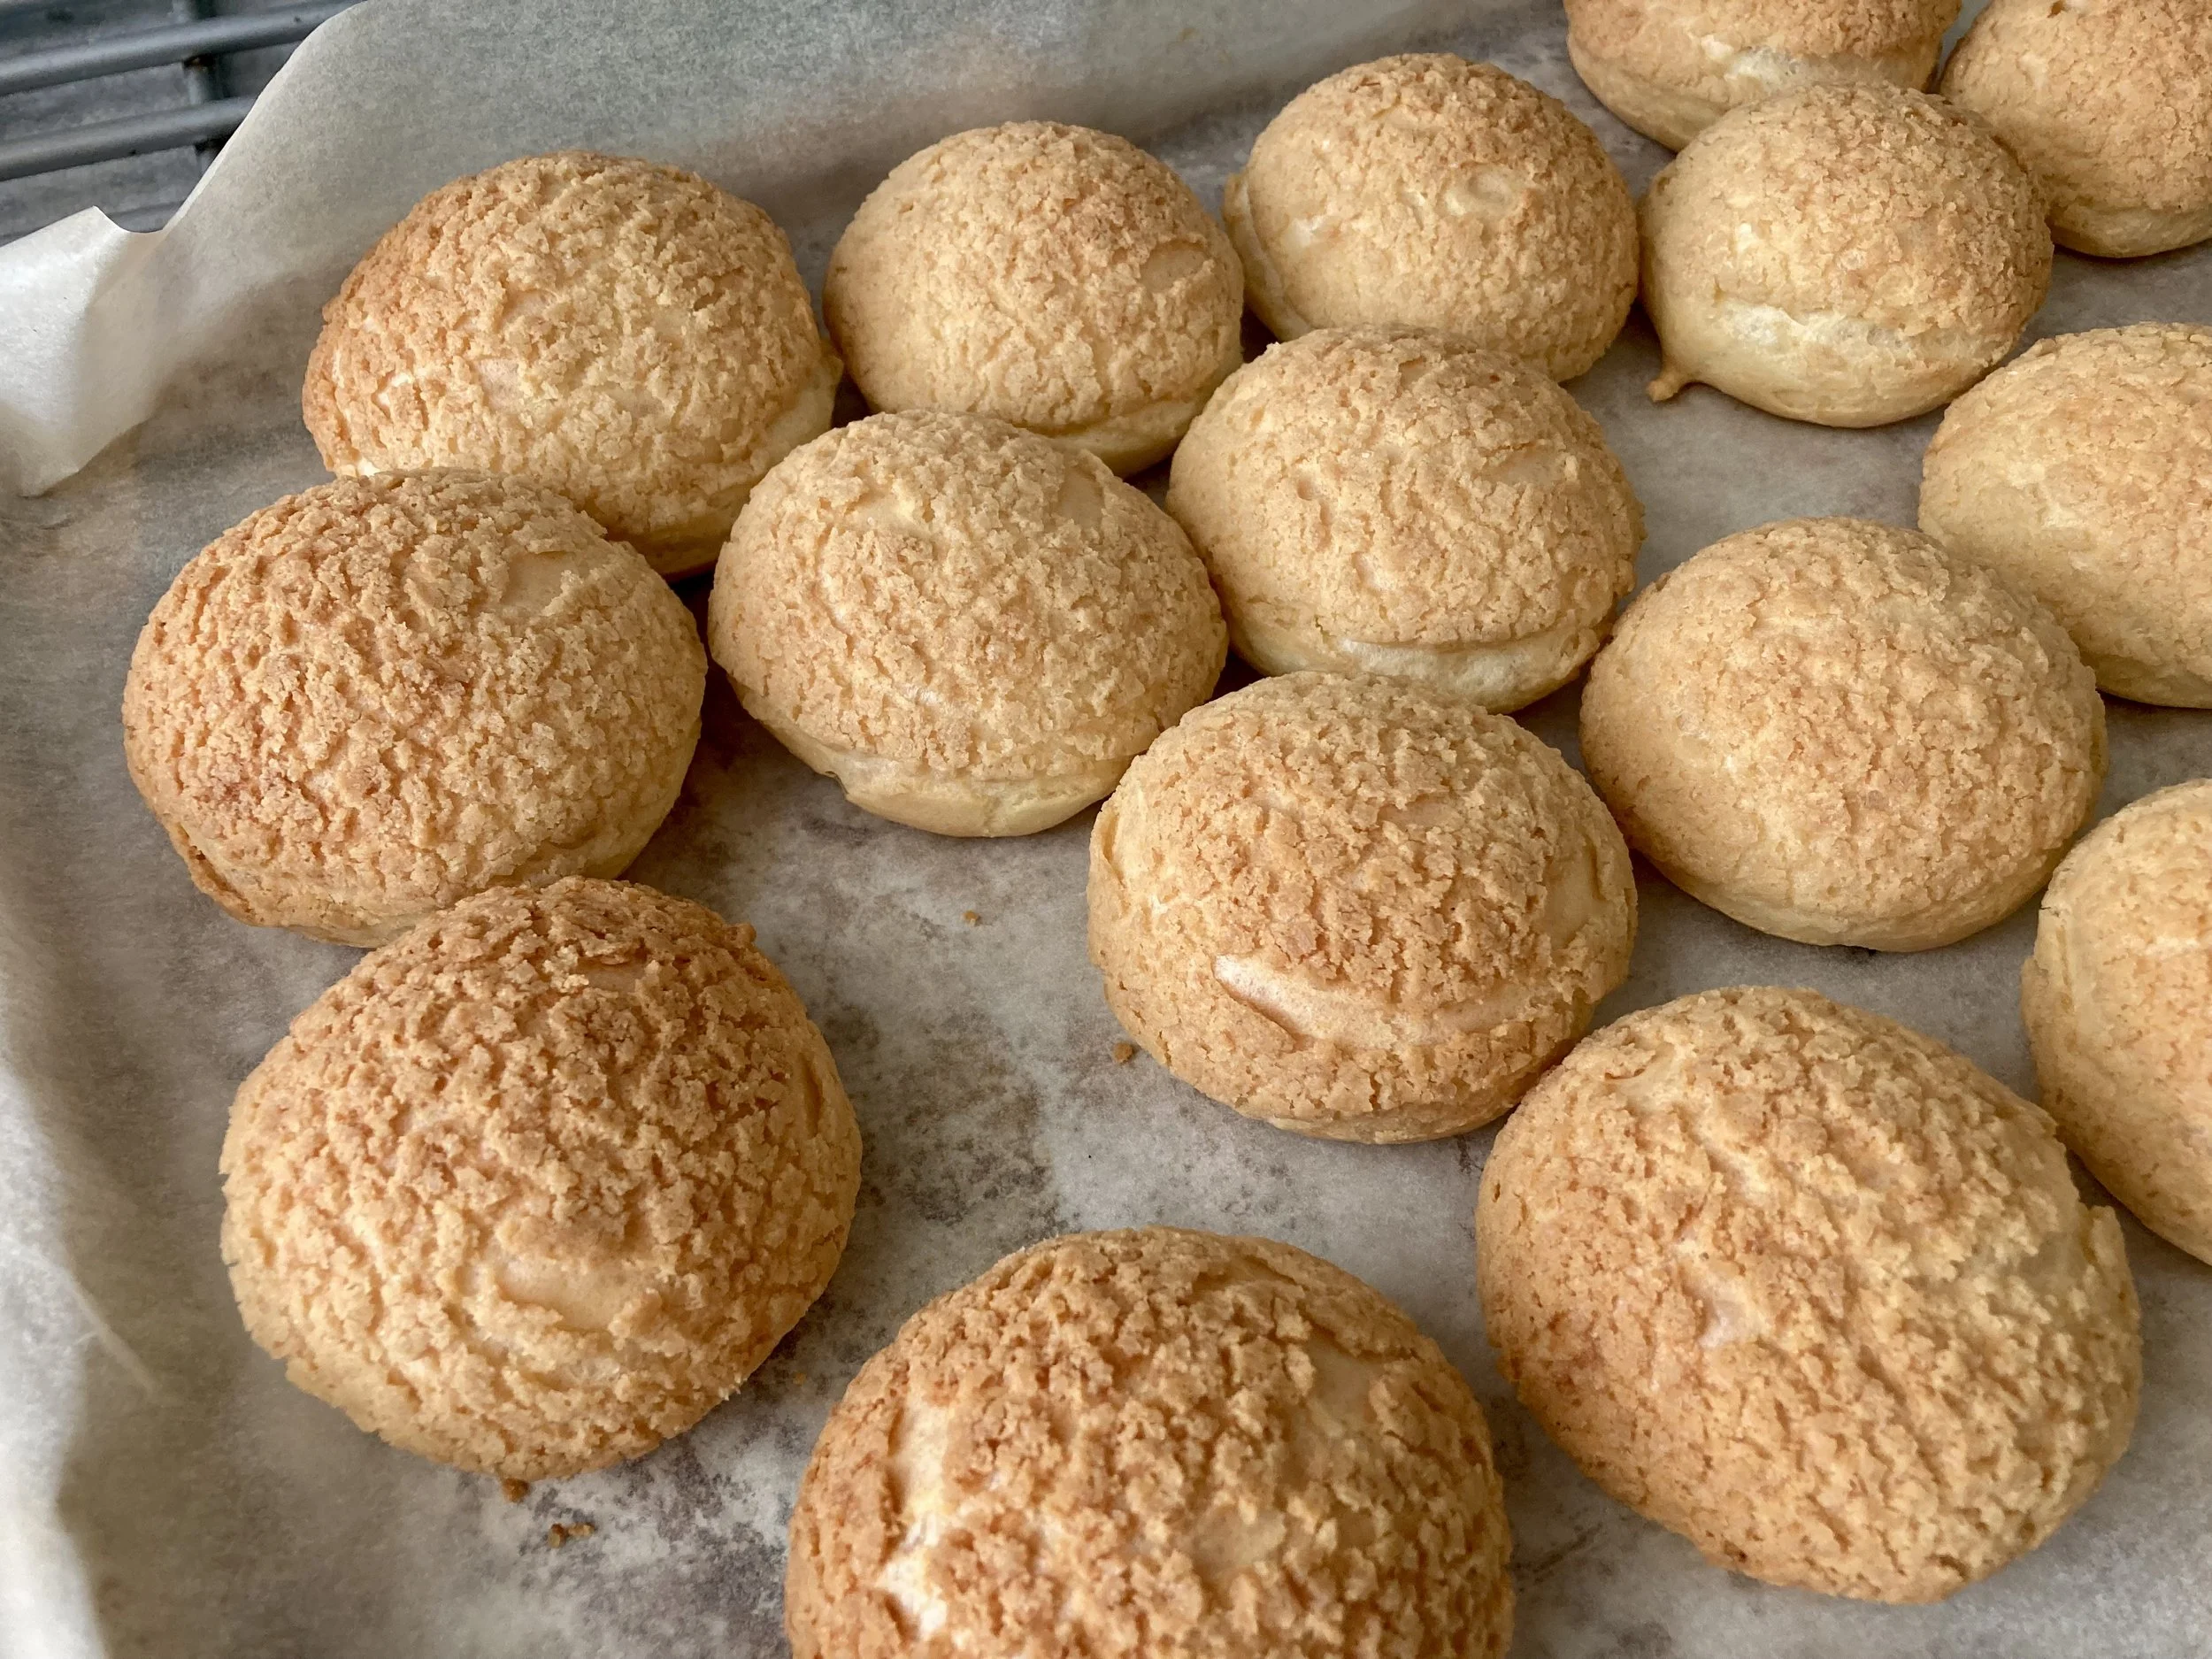
Place one disk of the cut out craquelin onto each of the piped dough mounds
Place the tray into the hot oven and bake for 10 minutes
Reduce the oven to 180c and bake for a further 20-25 minutes, until they choux has risen and has a deep golden colour – See Tip Box
Once baked, remove from the oven.
Use a sharp knife to stab the side of each choux bun – so that the steam can be released while they cool.
Set aside to cool completely.
Straight from the oven,
Tip Box
Salt – Leave the salt out if you’re using salted butter
Eggs – 1) It’s not often that I weigh my eggs, but for choux pastry its more about the weight of the eggs than the amount, and even then, all the amount in the recipe may not be used.
2) The amount/weight of eggs needed to make the perfect choux pastry will vary. So be prepared to not use all of the weight specified.
Oven Tray – A tip to stop the non-stick baking parchment from flying around in the oven, is to dot small amounts of the choux dough around the under edge of the paper and sticking the paper to the dots of dough.
Baking – All ovens vary, so adjust baking times accordingly.
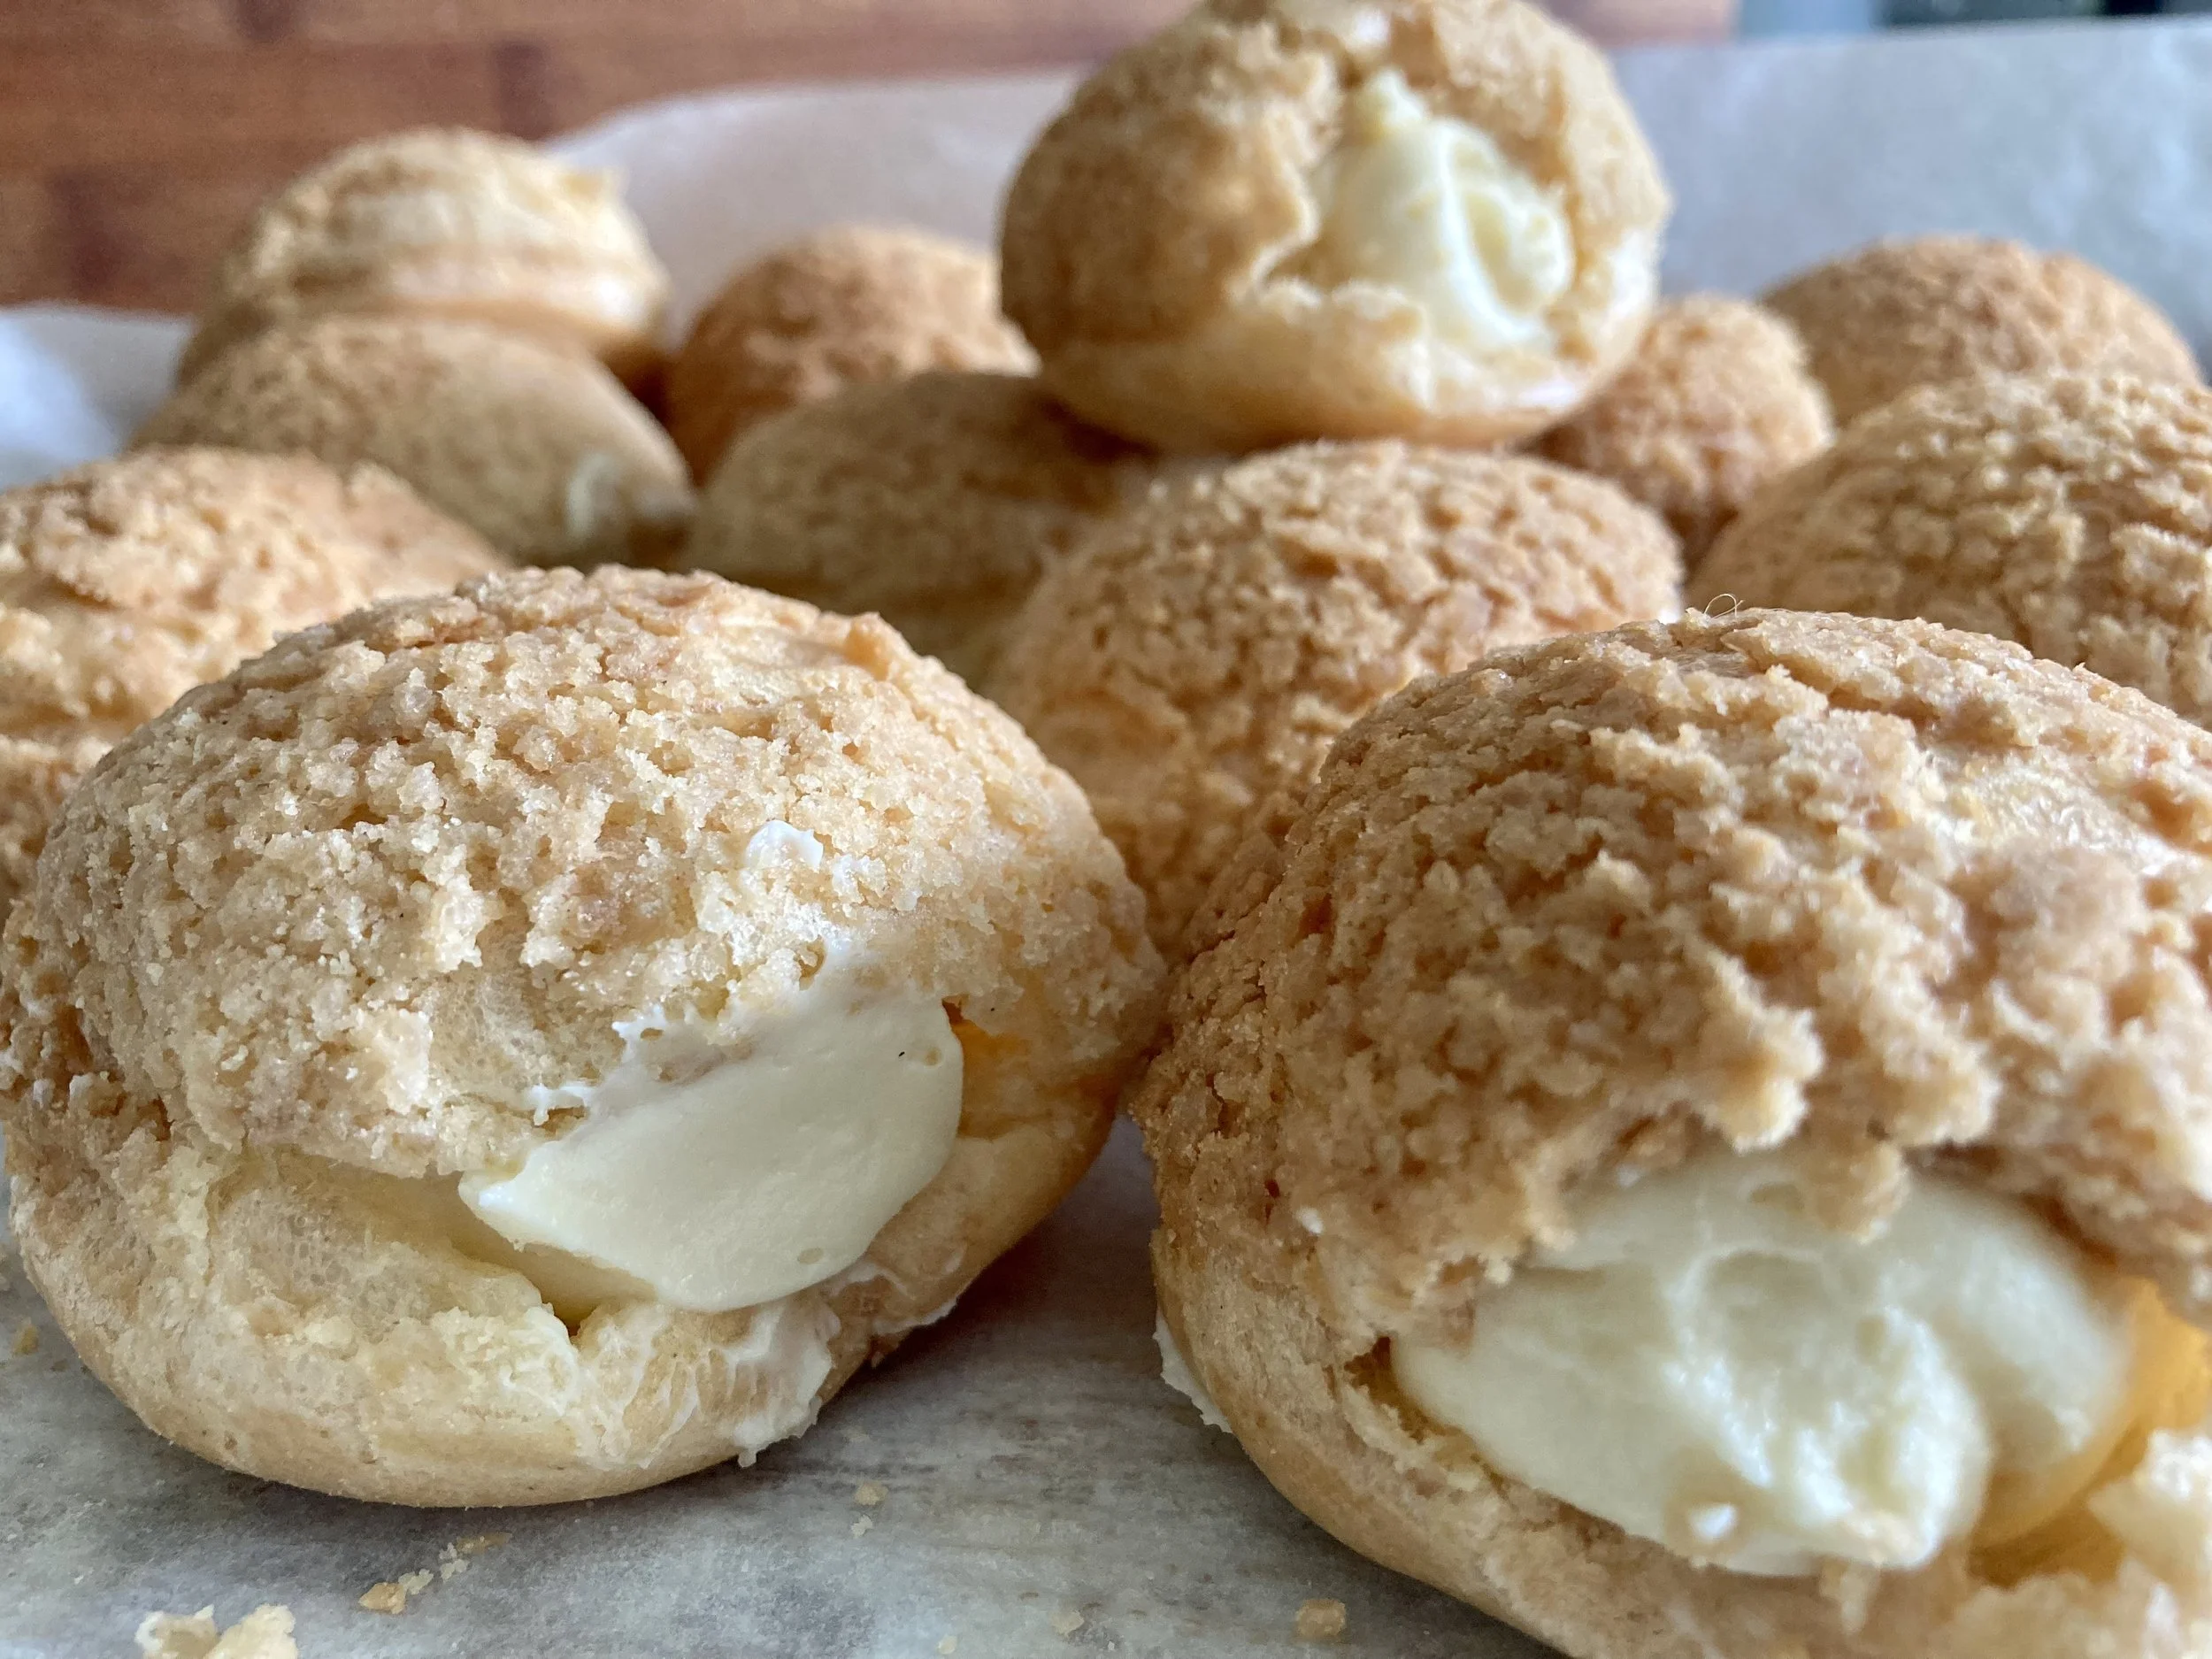
Fill the insides with the mousseline
Assembly
Snip the tip off the piping bag containing the prepared mousseline cream.
Find the whole that was made to let the steam out after being baked.
Push the tip of the piping bag into the hole and squeeze the mousseline into the hole until its filled.
Serve straight away or at room temperature.

Serve at room temperature

